
 Paul Wadsworth, Specification Manager at Brett Martin reviews the benefits of using a plastic rainwater system.
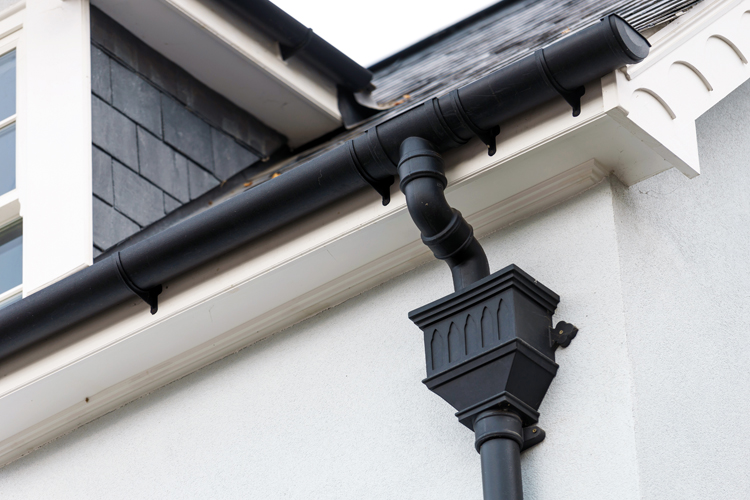
Despite being an integral part of the architectural landscape for over 150 years a cast iron rainwater system is a heavy, awkward and difficult to install building material that is frequently being superseded by other easy-to-fit solutions. With this in mind, what options do builders have when it comes to cost-effective rainwater drainage solutions that offer time and labour efficiencies whilst at the same time having a traditional, heritage appearance?
At a fraction of the price to buy, install and maintain, modern plastic materials can replace an aluminium or cast iron rainwater specification to deliver projects under budget and ahead of schedule. Plastic rainwater systems enables contractors to create a heritage aesthetic without compromising architectural integrity and enjoy the savings in materials, labour and time saved on site
Heavy weight
There is no escaping the fact that Cast iron drainage systems can be heavy and difficult to install. Builders must also be extra vigilant regarding health and safety and will require more time to lift and fix the system process.
Almost every job will require both gutter and pipe lengths to be cut onsite using specialist tools and, to ensure long-lasting durability, they need to be fully finished on site, using a primer, undercoat and topcoat, to ward off corrosion. Even if the system used is delivered pre-painted, any cut lengths, or site damage to the finished surface, must be protected to the same level, by the installer. It should be noted that, in some cases, if the level of protection applied on site is deemed insufficient, any guarantee offered may be, quite rightly, invalidated, leaving the installer liable.

Because the plastic ranges are so much lighter than cast iron, installation at height is less hazardous, being effortless to lift, easy to manoeuvre, simple to cut and quick to fit. The systems also benefit from external fixing lugs, enabling easy power tool access, which further speeds up installation. All gutter fitting joints have integral seals and flexible retaining clips, allowing the gutter lengths to simply click into place. No extra-cost fixing kits or nuts and bolts are required to make gutter joints, as with many traditional systems.
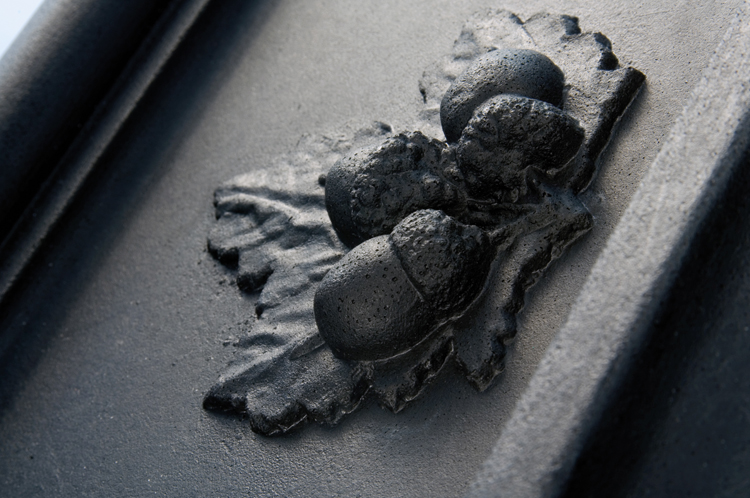
When a traditional aesthetic is a prerequisite, the right drainage system can be the difference between design success and failure. As budgets are increasingly stretched and tight deadlines dictate product specification, builders must be aware of every product’s cost – in both materials and labour. With a price tag in line with modern construction, and an appearance that blends the past with the present, we believe our own Cascade offering is a plastic rainwater system which fits the bill.

Some key considerations to make when installing rainwater systems
Step 1 – Planning and preparation
Plan your installation carefully. Ensure you have the right tools for the job and relevant personal protection.
Step 2 – Fitting running outlets
Fix running outlets above the drains or gulleys where the water will drain into using 25mm x 5mm corrosion resistant screws.
Step 3 – Calculating fall
To allow for good steady rainwater run-off, guttering should be installed with a downward fall towards the rainwater outlet – 1mm for every 600mm. The running outlet should be at the lowest point on the gutter run.
Step 4 – Fitting fascia brackets
Fix the first fascia bracket furthest from the outlet at a position on the fascia to allow for the required fall. No more than 100mm from the end of the fascia board. Stretch a line taut between the fixed outlet and fascia bracket to establish a straight gutter line. Fascia brackets should be fitted to the fascia board at equal intervals. A union bracket should be used where two gutter lengths are joined. Gutter supports should be spaced of no more than 900mm or less than 600mm in areas of heavy snow.

Step 5 – Cutting gutter to size
Cut to length using a saw and a file to remove any burrs from sawn ends. When cutting the guttering to size make allowances in length to fit the expansion lines which are marked in the fittings
Step 6 – Fitting the gutter
Lubricate the seals using silicone spray lubricant. Each length of gutter should be placed into position with the back edge under each fitting. Rotate down and then click front edge into place over the top edge of the gutter.
Step 7 – Fitting downpipe
If required, fit an offset between the running outlet and the downpipe. Fit the downpipe to the offset. To allow for expansion ensure each connection is retracted at least 5mm from the receiving socket before fixing to the wall. Use spirit level to check vertical alignment. Mark the walls using the holes in the lugs of the socketed downpipes as guides. Then drill, plug and fix the downpipe using fixings. Water test system to ensure no adjustments to the fall are necessary and all connections to the fall are fitted correctly.