
With the popularity of digital showers growing, September 2017 saw Triton Showers launch Host, its latest wireless offering. Here, Triton’s Senior Technical Manager, Steve Saunders, provides a step by step guide to installing the new product.
| Step 1: Packaging & Pack Contents
Triton’s Host digital mixer all-in-one packs come supplied with everything you’ll need for installation. Here, that includes a dual outlet mixer, a black control, 200mm ceiling arm, 300mm deluge shower head, integrated wall outlet/holder and handset. An optional start/stop remote is also shown, which can be installed up to 10m away from the bathroom. This portable device allows users to turn the shower on and warm it up remotely. |

|
| Step 2: Mixer Unit Positioning
The IPX4 rated splash proof mixer unit can be situated in any accessible location, providing there is no risk of freezing. This could be in a cupboard, within the roof space or under a bath –with the unit mountable either horizontally or vertically on a flat surface. |
 |
| Step 3: Mixer Unit Set Up
The mixer unit is suitable for all types of systems, with a mains fed option as well as a silent running pumped version for gravity fed cylinders. The performance of the unit can be optimised for combi boilers by fitting a flow restrictor in the hot inlet of the mixer unit (7l/min <24kW or 9l/min <30kW). For brand new bathrooms, a flow restrictor can also be fitted in the outlet(s) to achieve the required water efficiency for Building Regulations Part G and the Home Quality Mark. 9l/min restriction is a popular choice, offering a good balance of water power and efficiency. |
 |
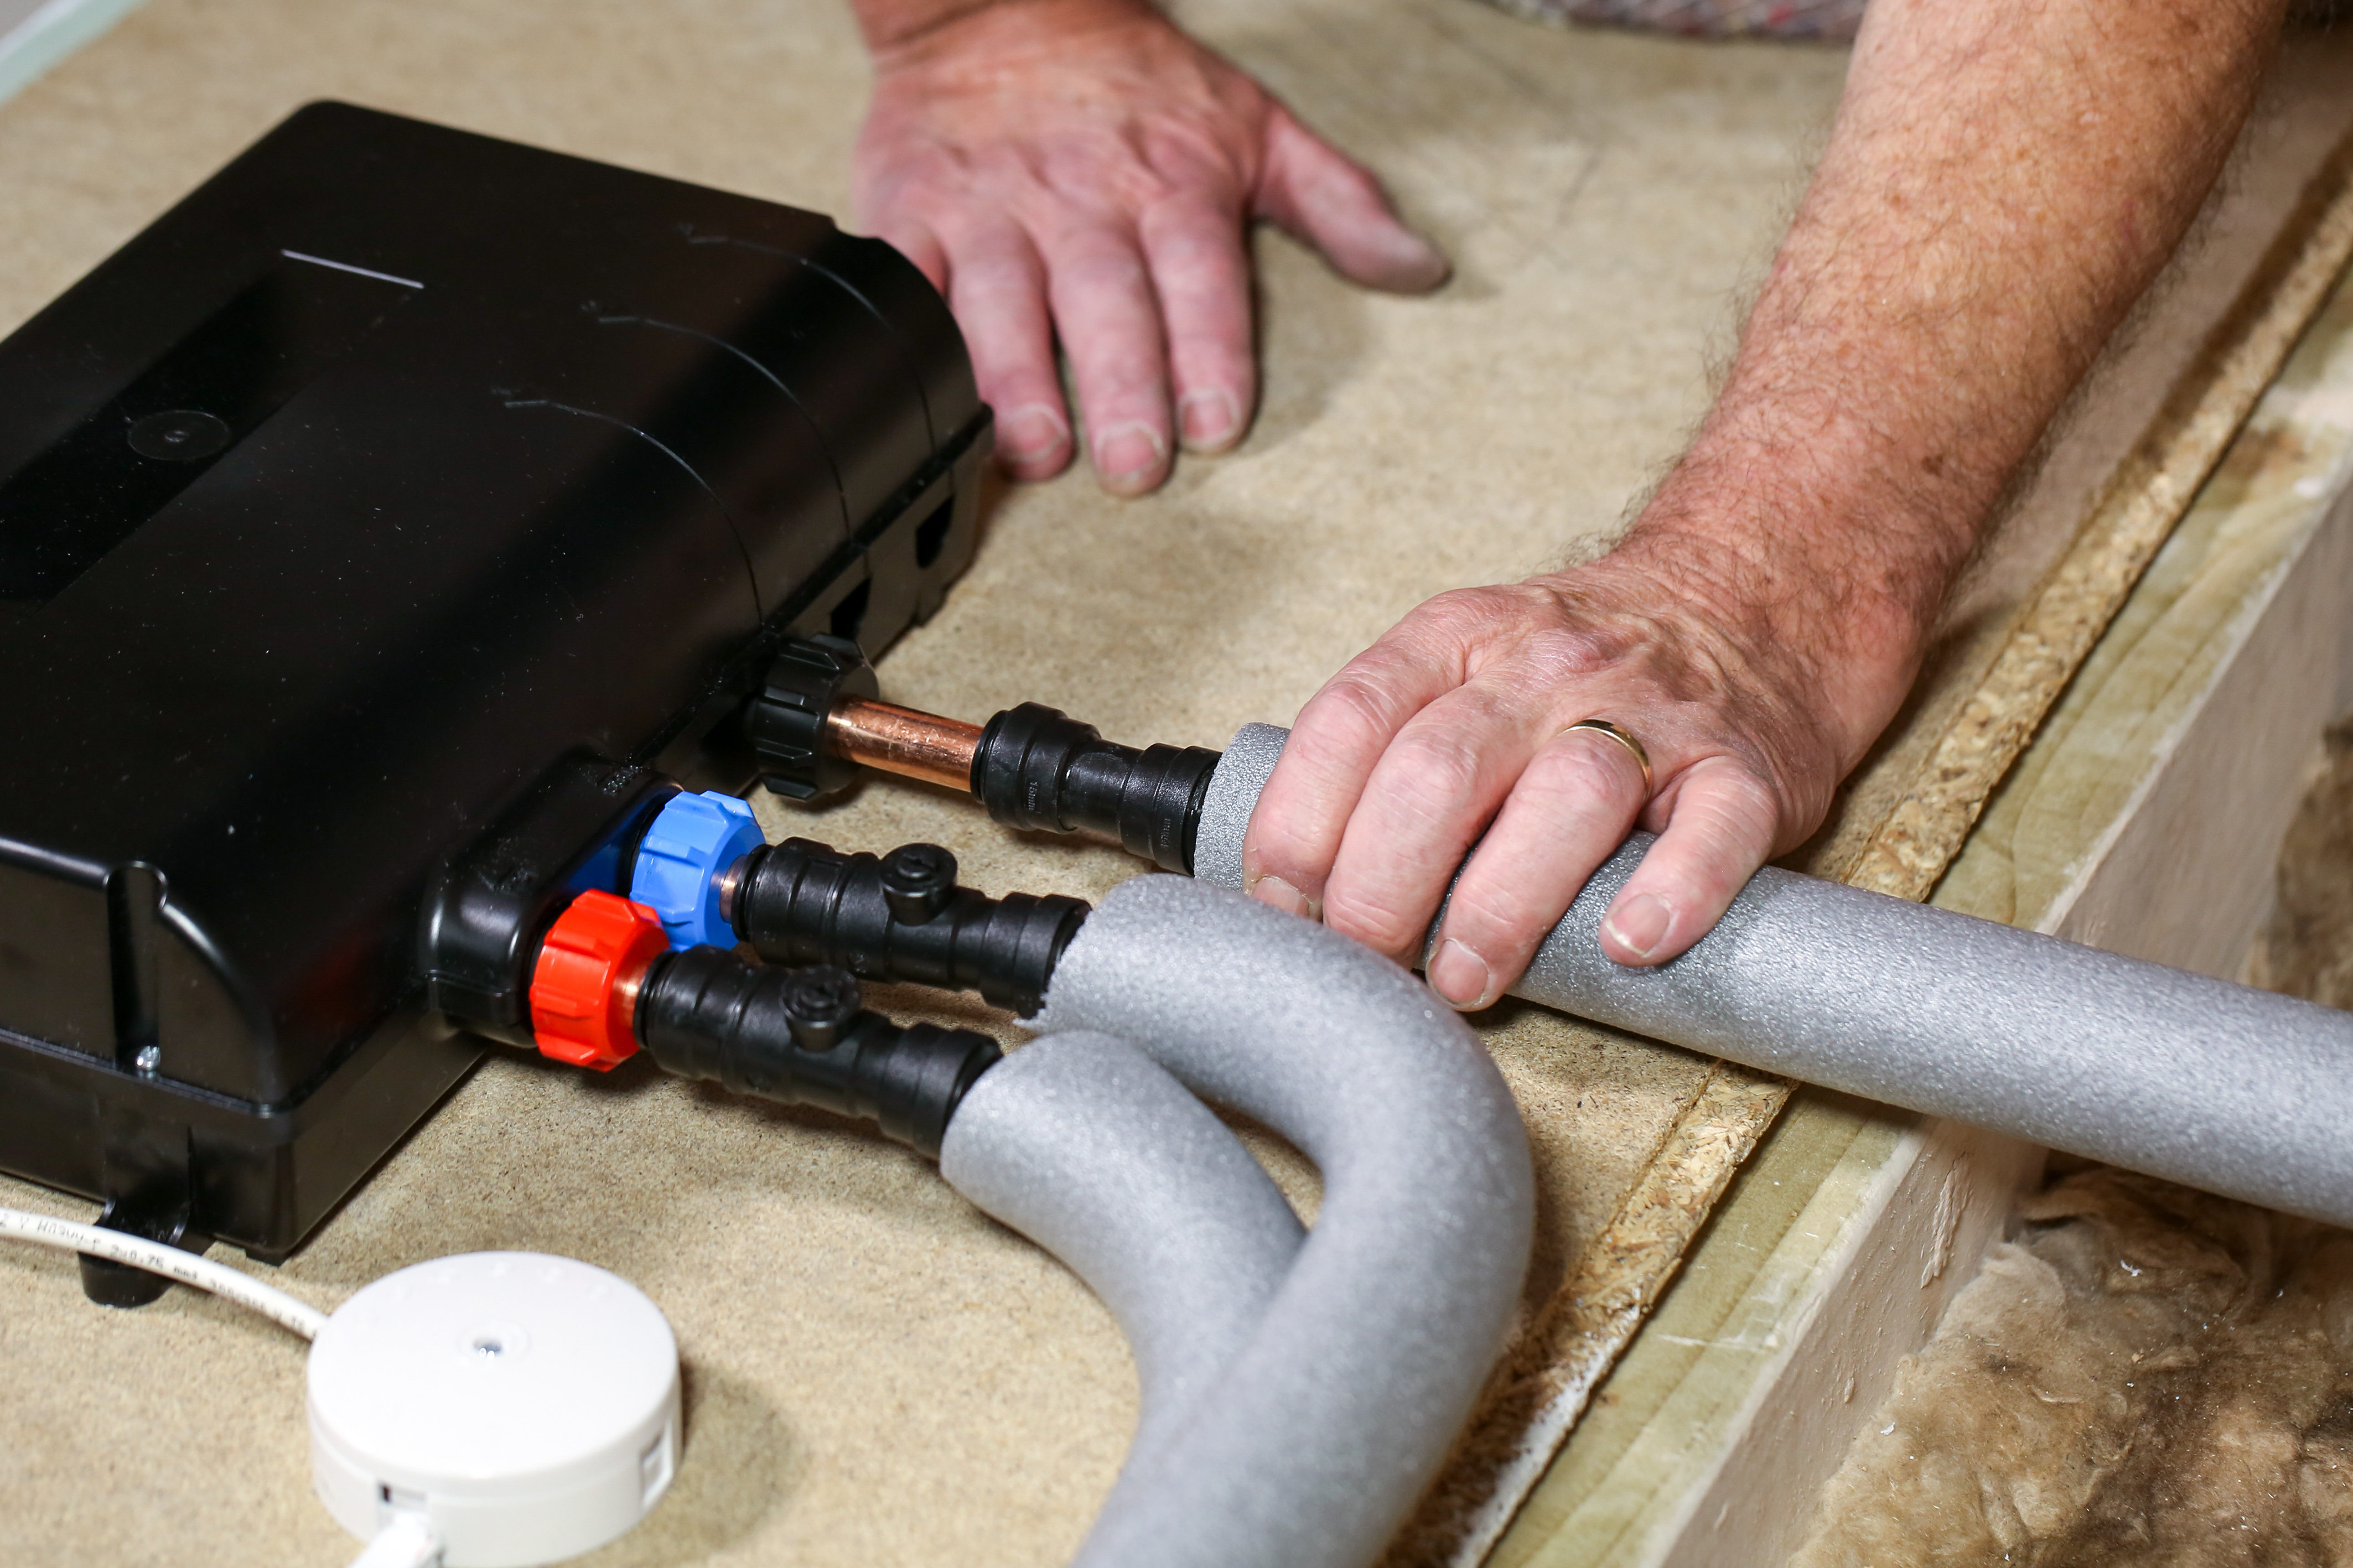
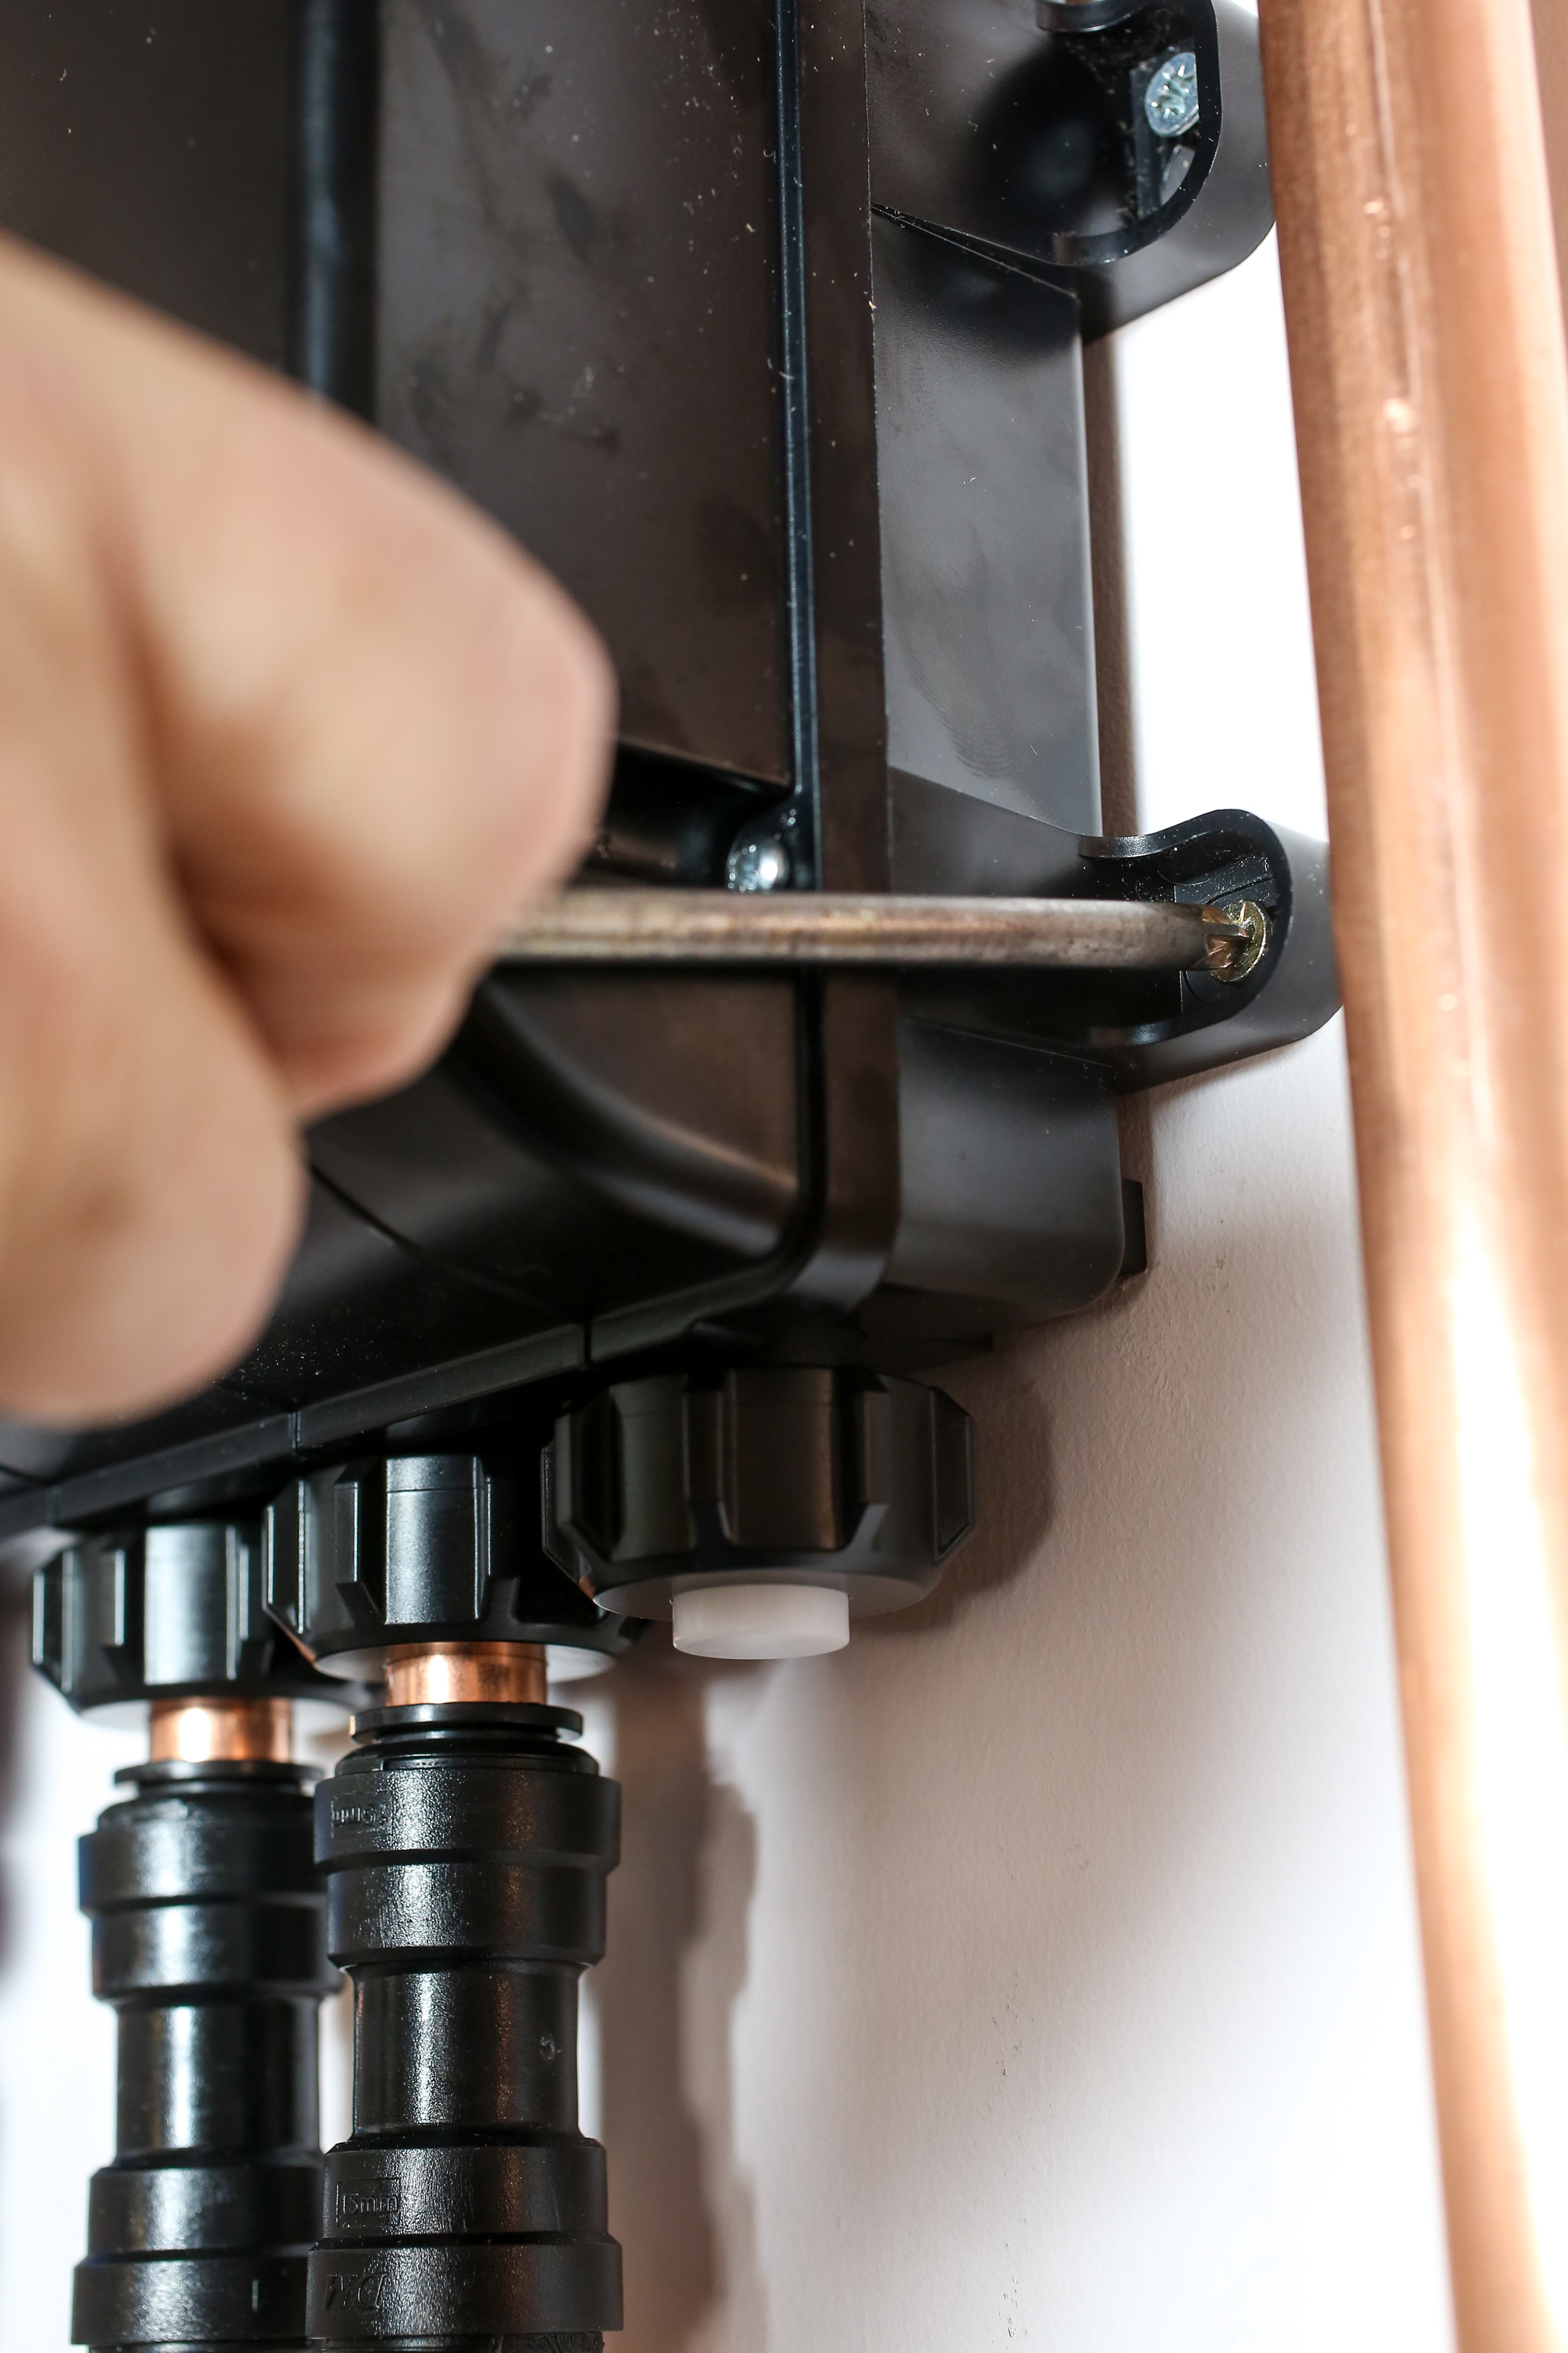
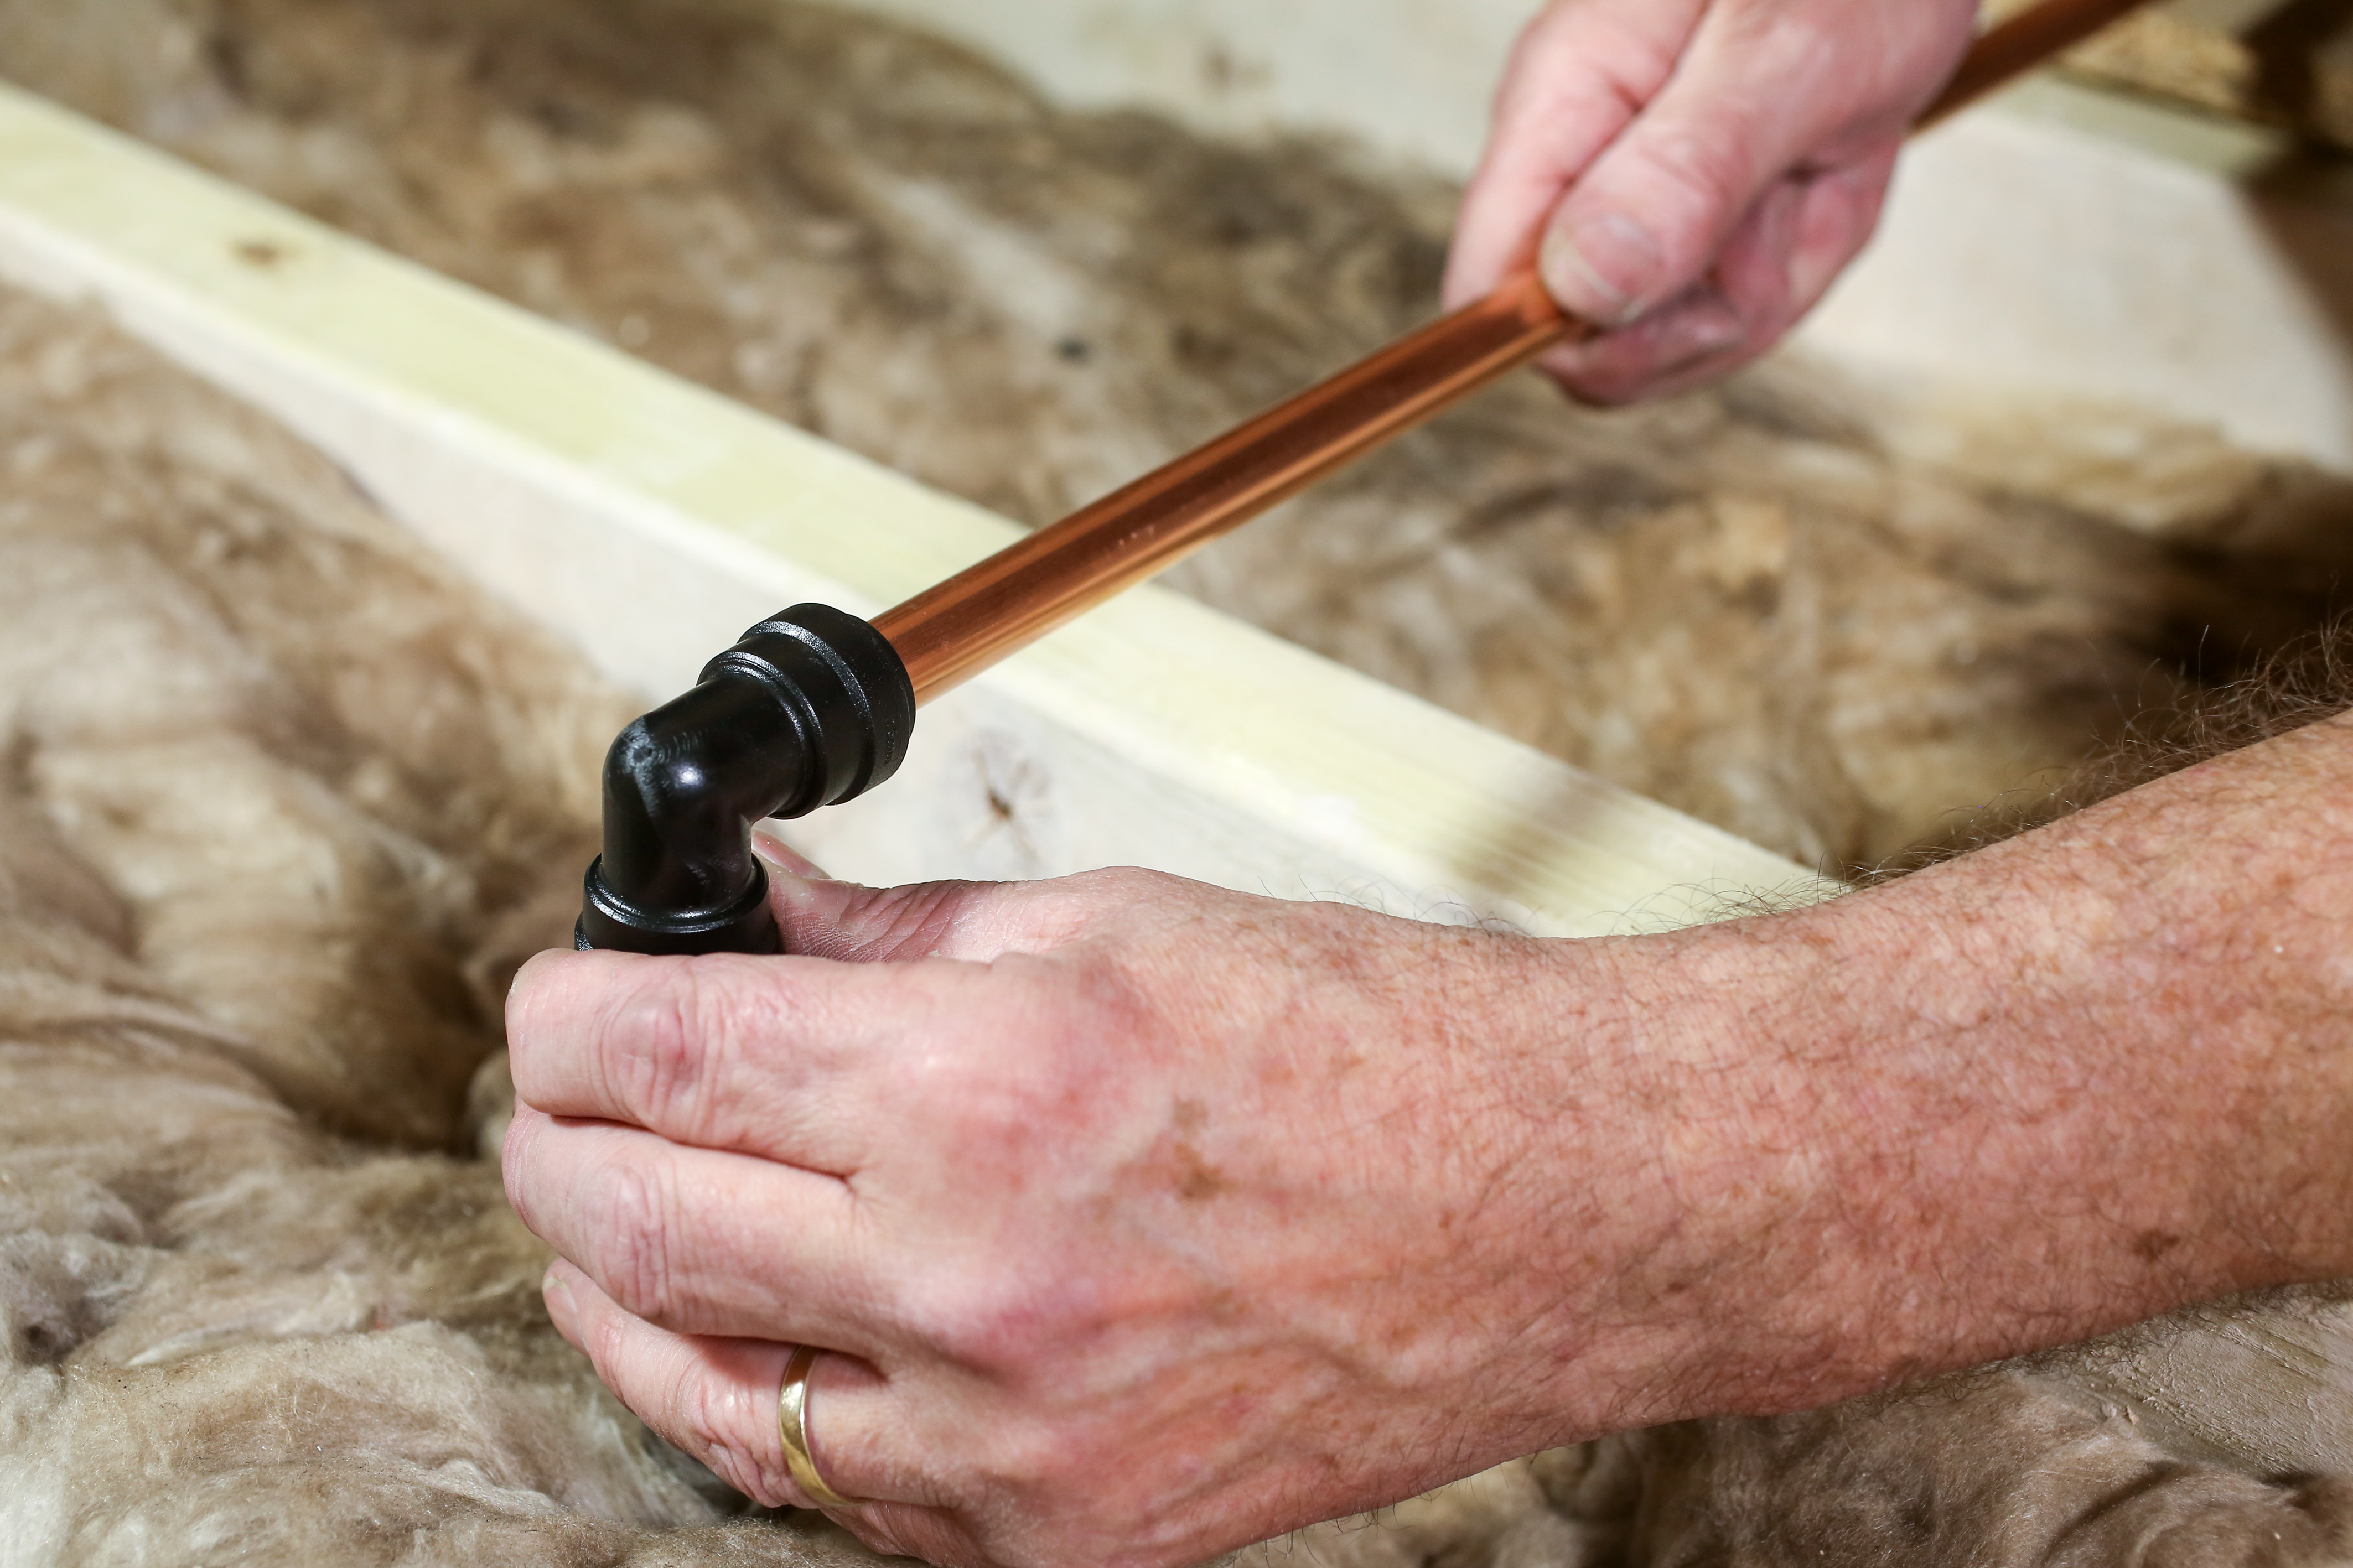
| Step 4: Mixer Unit Connection
The mixer unit is fastened to a flat surface using the four external fixing lugs. Simply connect to a fused spur using the supplied 1m flying lead and push pipe into the supplied push-fit connectors.
The mixer unit is installed and commissioned without removing the cover. In addition, only the mixed water outlet pipe needs routing to the shower area. |
|
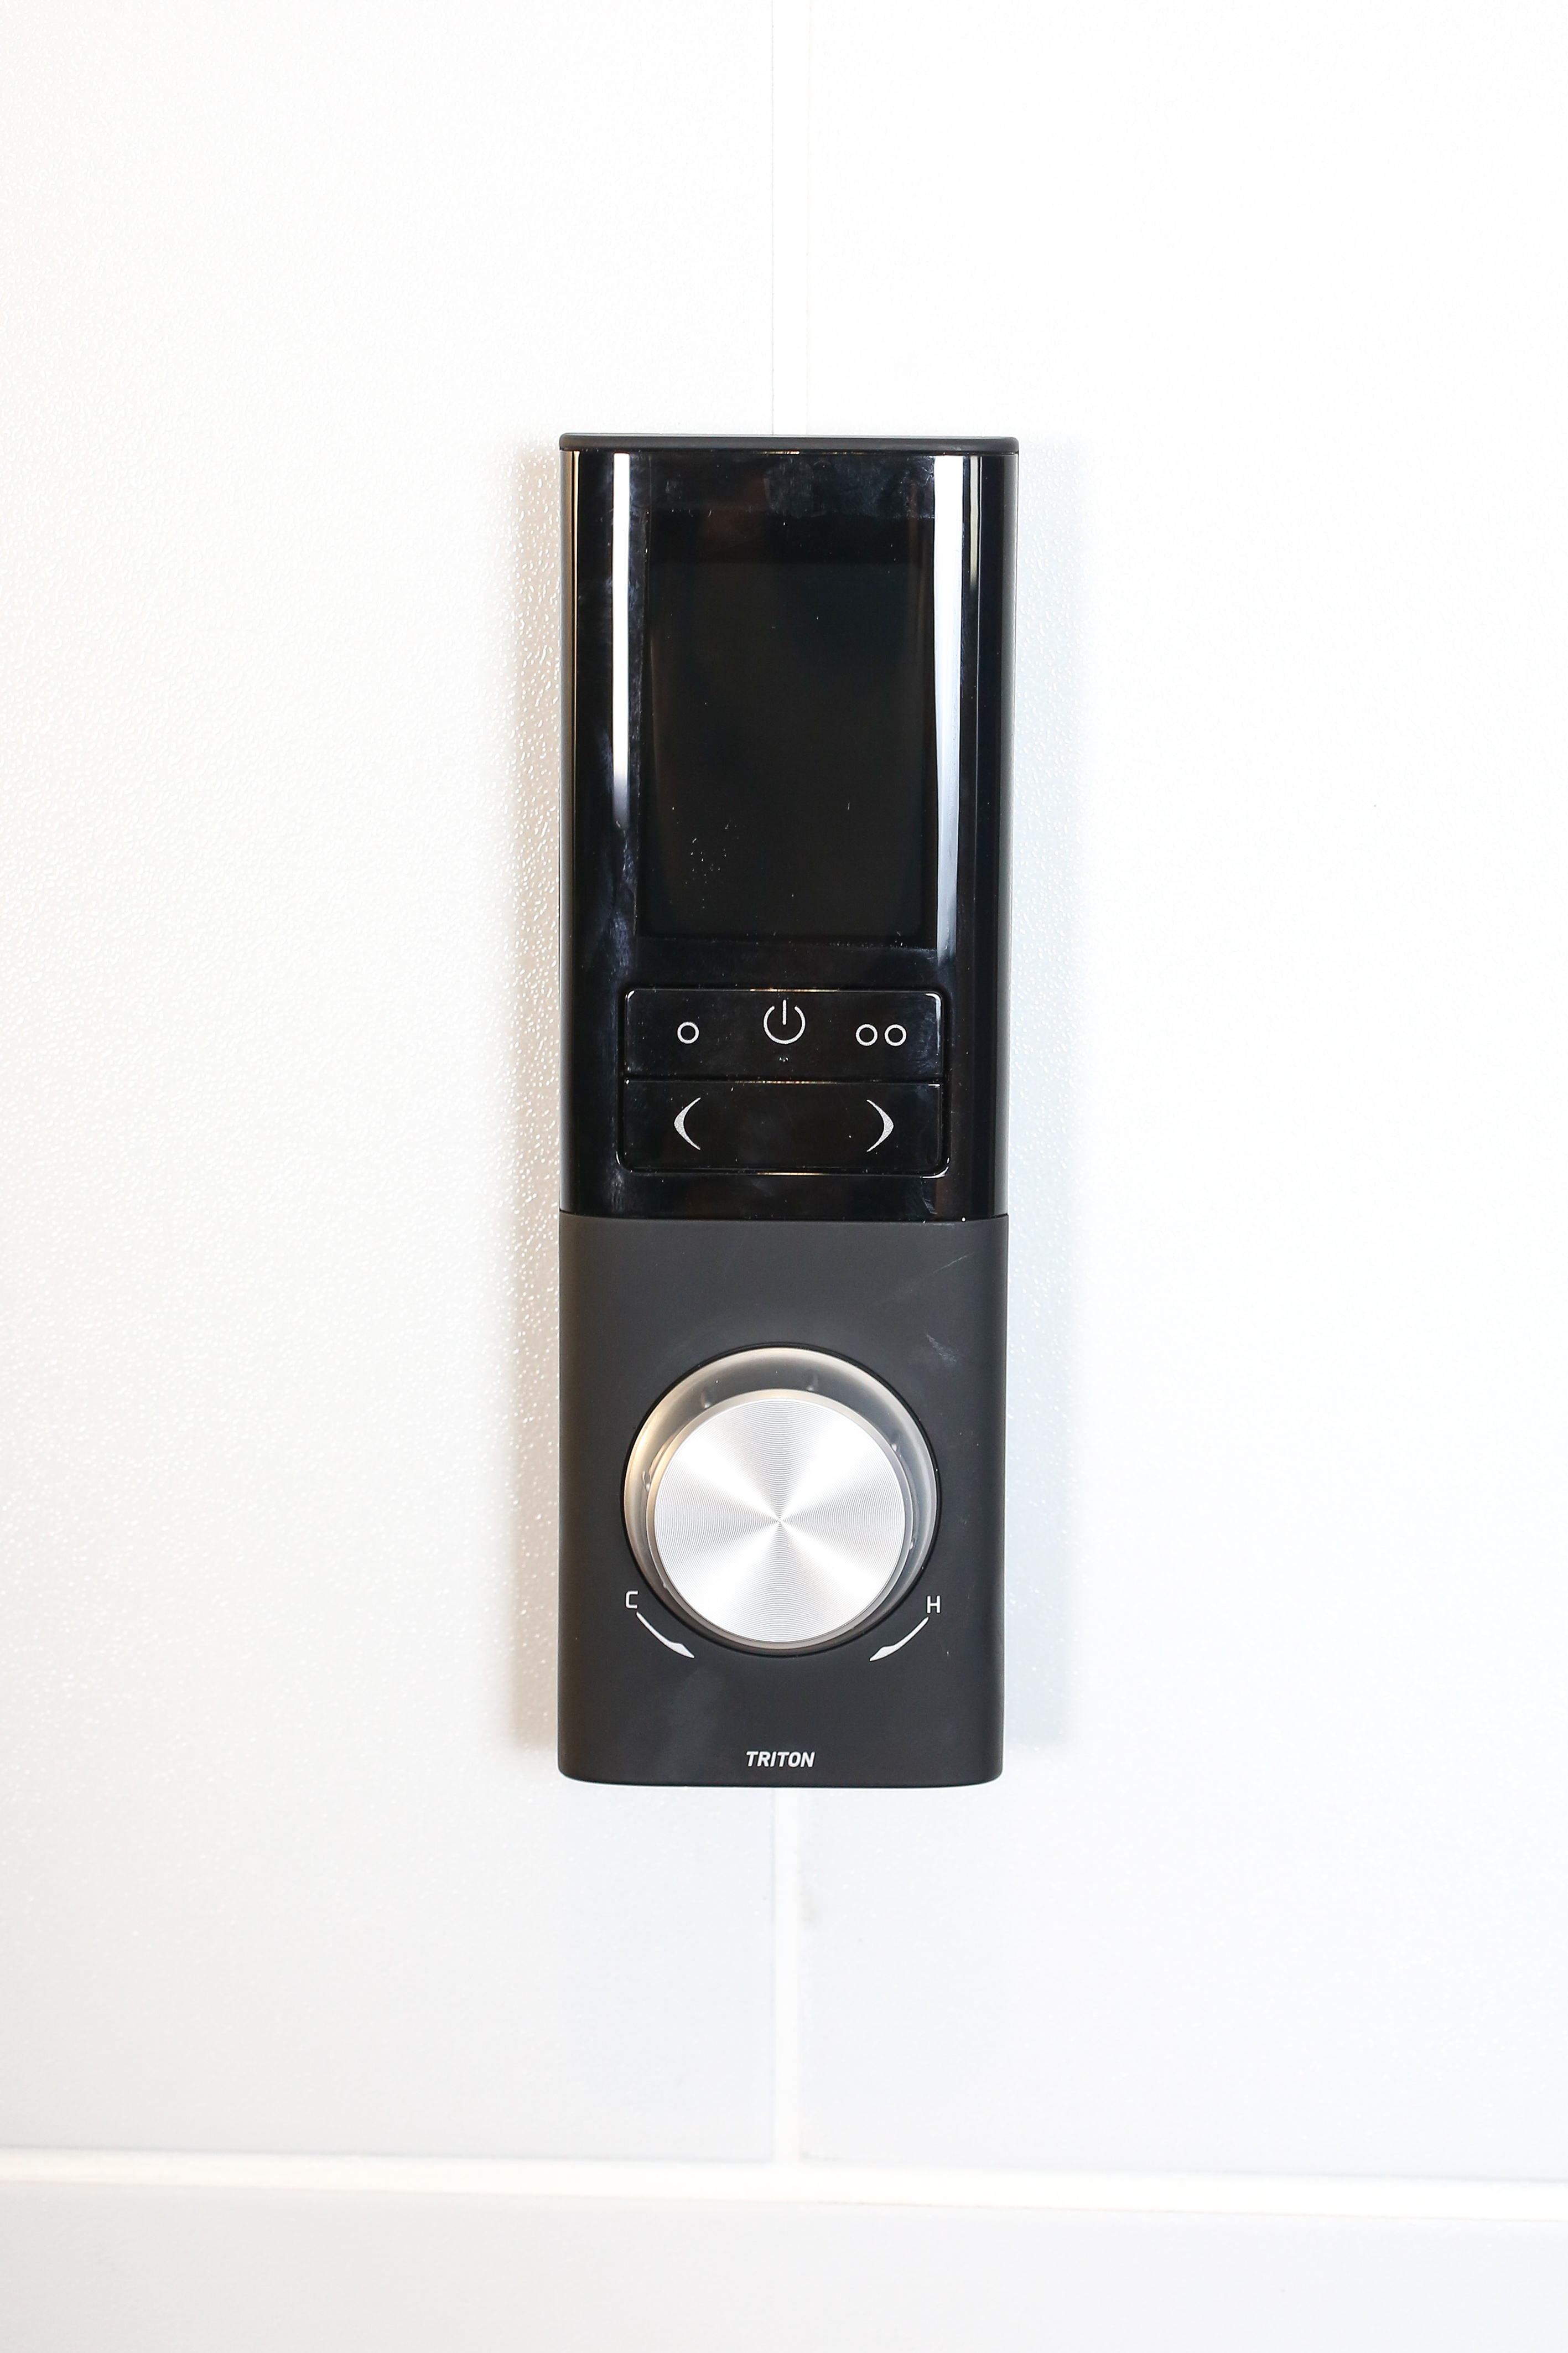
| Step 5: Wireless Control Positioning
Because the IPX4 rated splash proof shower control is wireless, you are free to position it on your wall of choice. This can be a second fix and anywhere within 10m of the shower unit, allowing for precision siting (e.g. in the centre of a tile, on the grout line). Wireless shower controls also eliminate the need to route wires to the showering area, ideal for replacing any existing digital mixer shower. |
 |
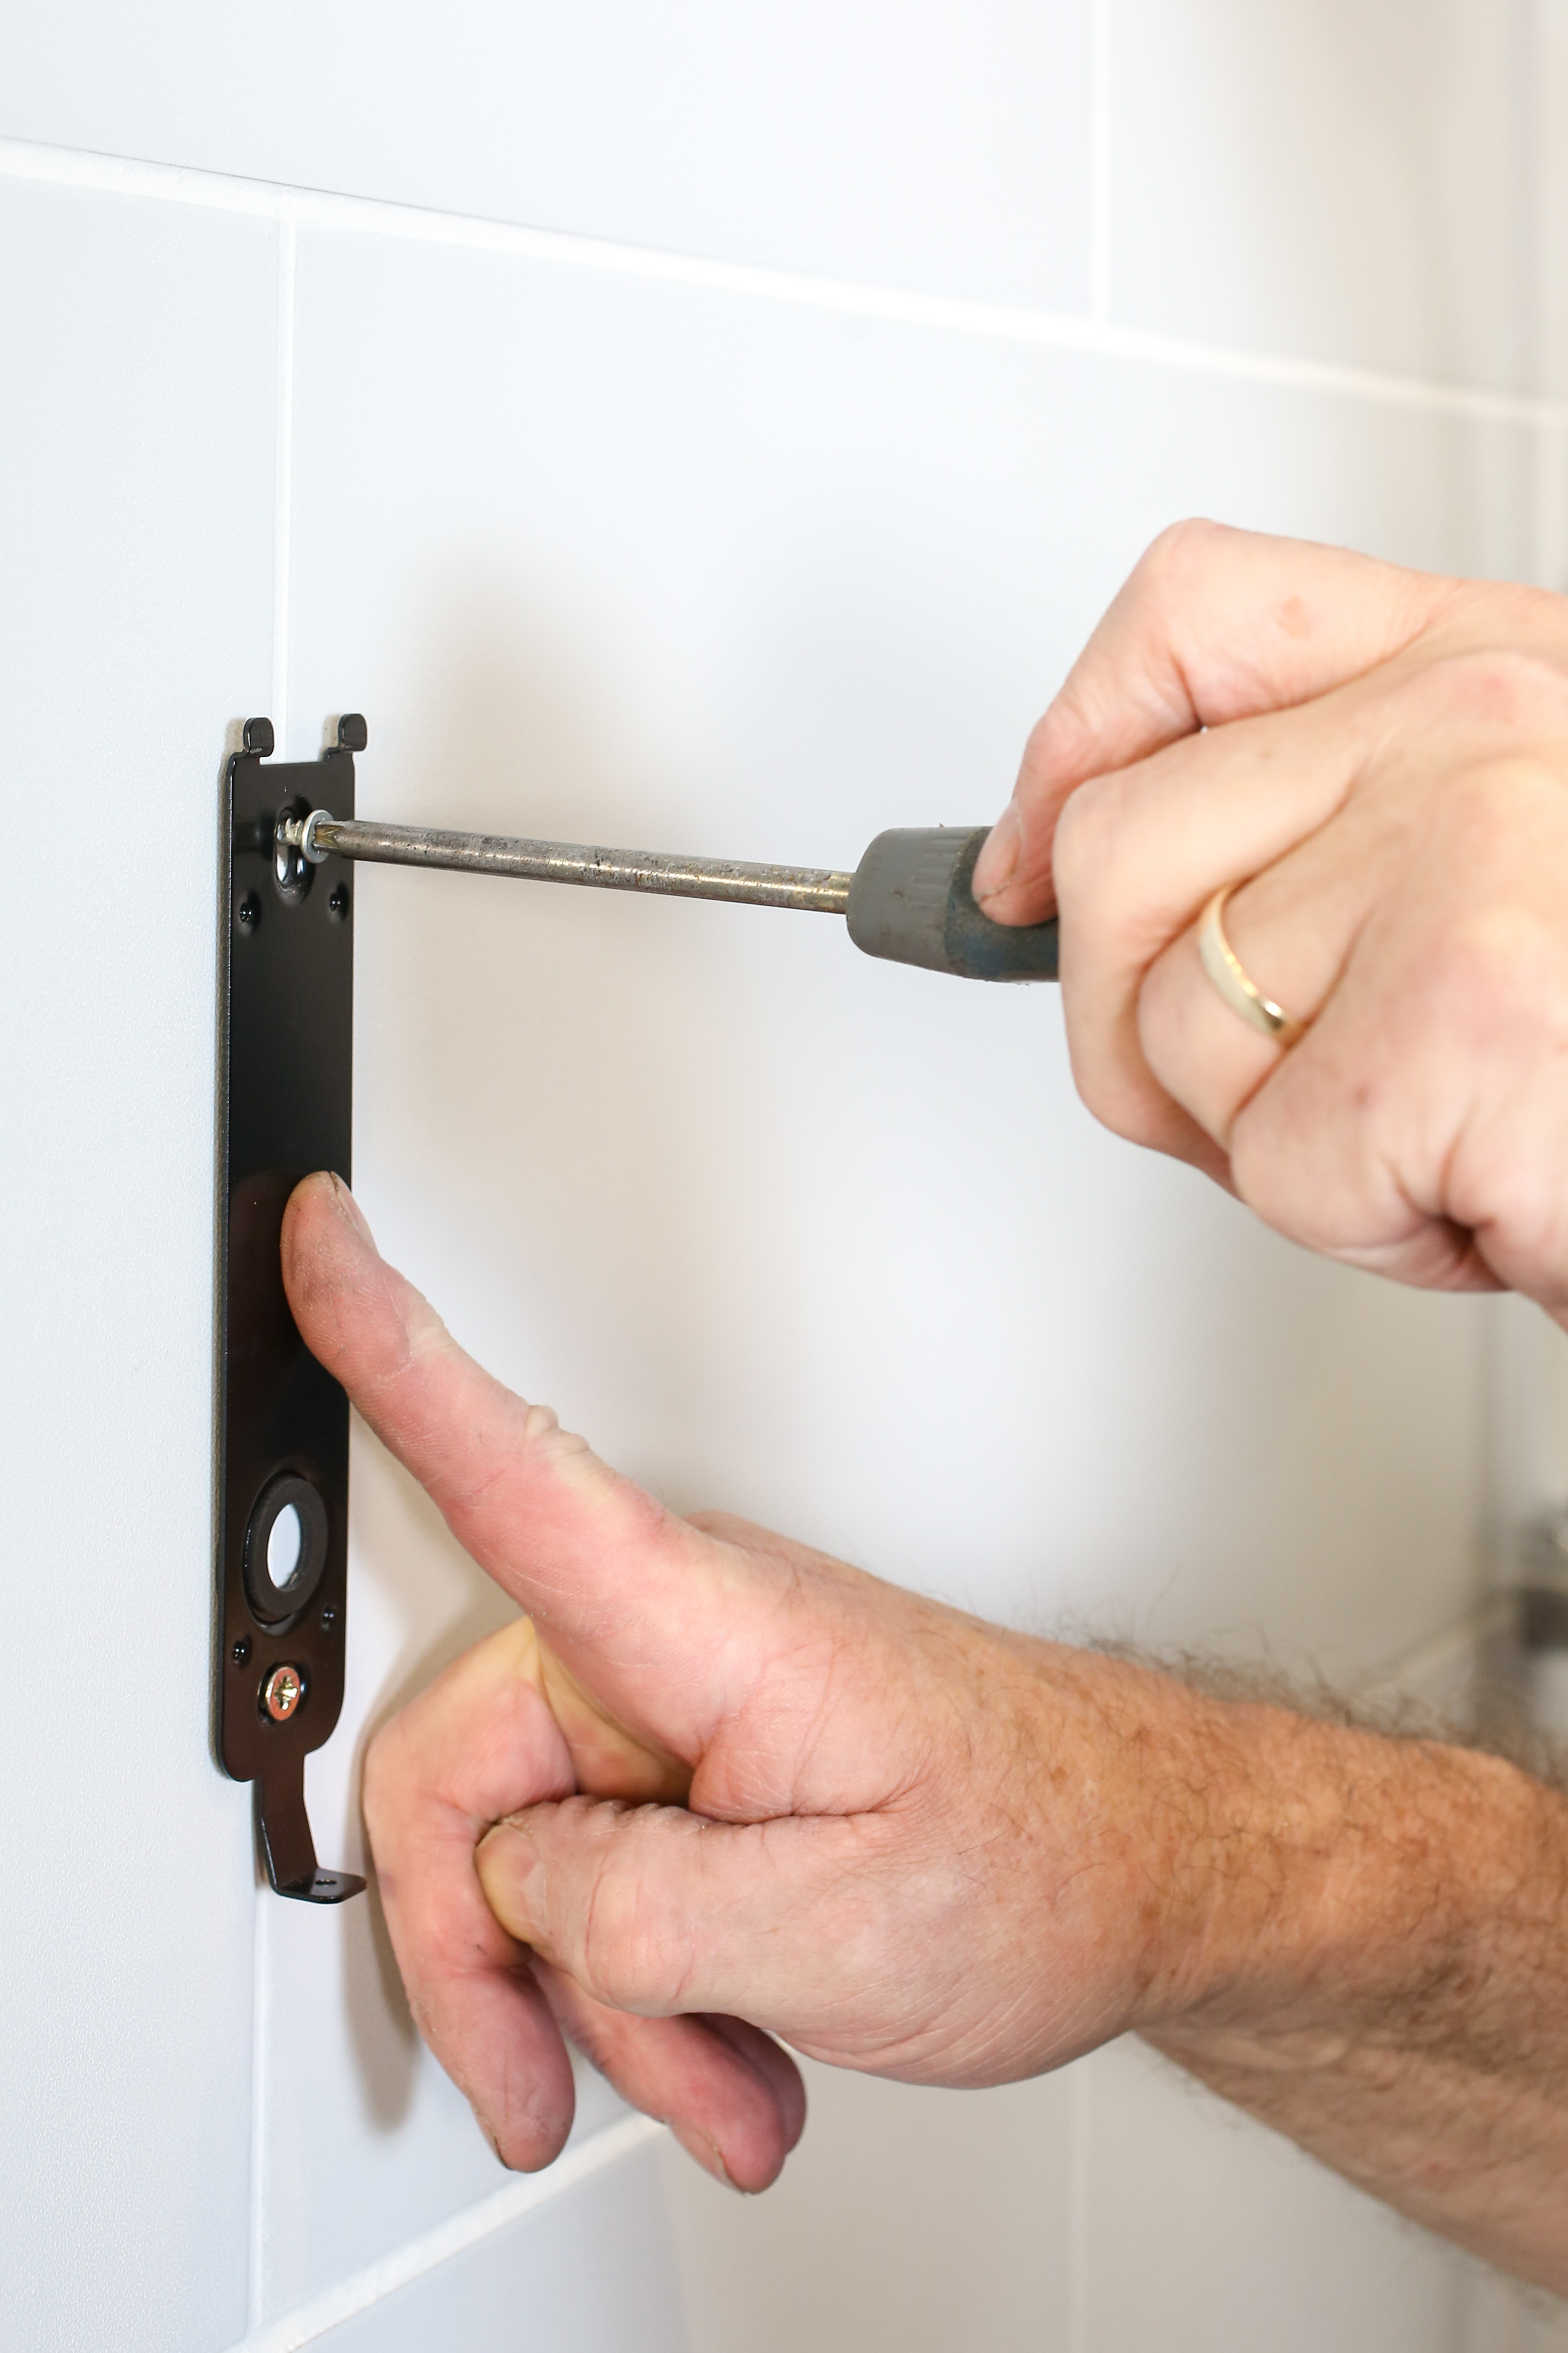
| Step 6: Wireless Control Fitting
The simple wall mounting brackets can be used to mark out the hole positions for the main control unit and the optional start/stop accessory. Drill, plug and fix the mounting brackets to the wall (plugs and screws supplied). The main shower control is powered by three lithium AA batteries which are simply fitted into the rear of the control. The remote then hooks onto the wall bracket and is secured with a screw. Alternatively, you may route a 10m low voltage cable (supplied) in bathrooms when there is access to wall voids. |
|
| Step 7: Wireless Control Commissioning
The shower controls will auto pair with the unit when first switched on, displaying the installer menu. Select the outlet quantity, type and order, confirmed by the icons (e.g. overhead, large handset, microphone handset). The tamperproof maximum temperature can be adjusted for households with children or users with specific requirements. |
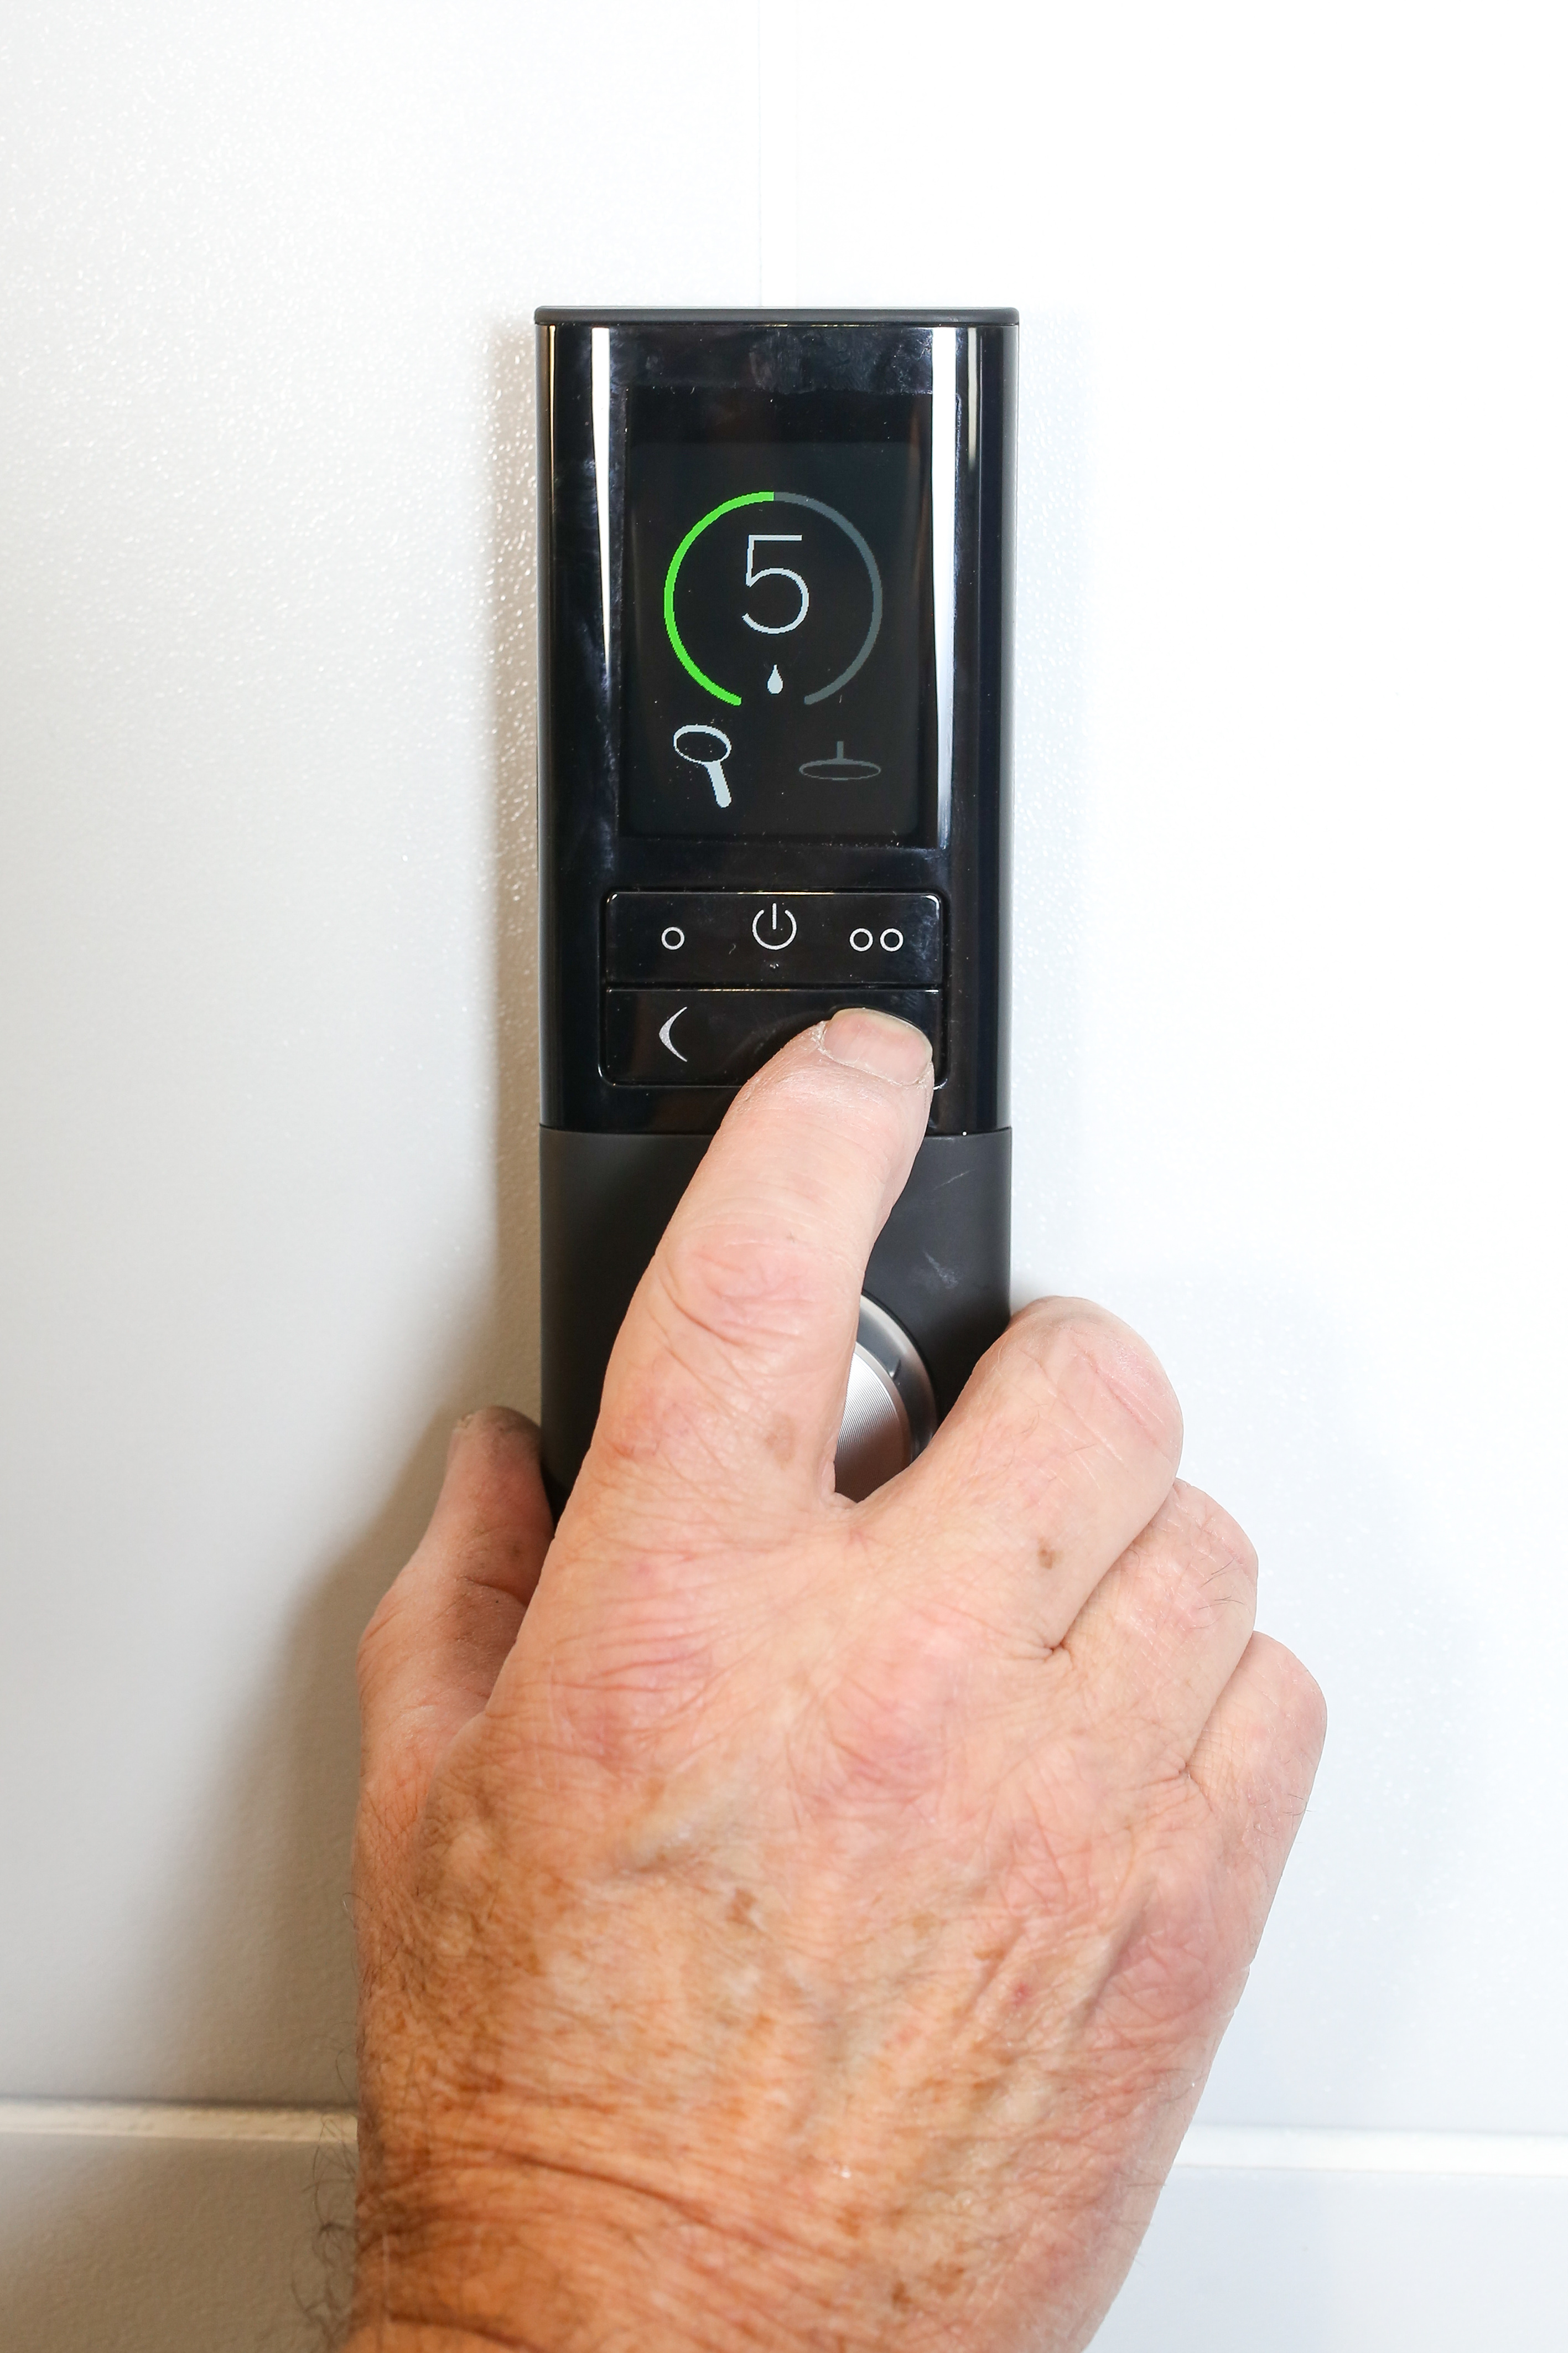 |
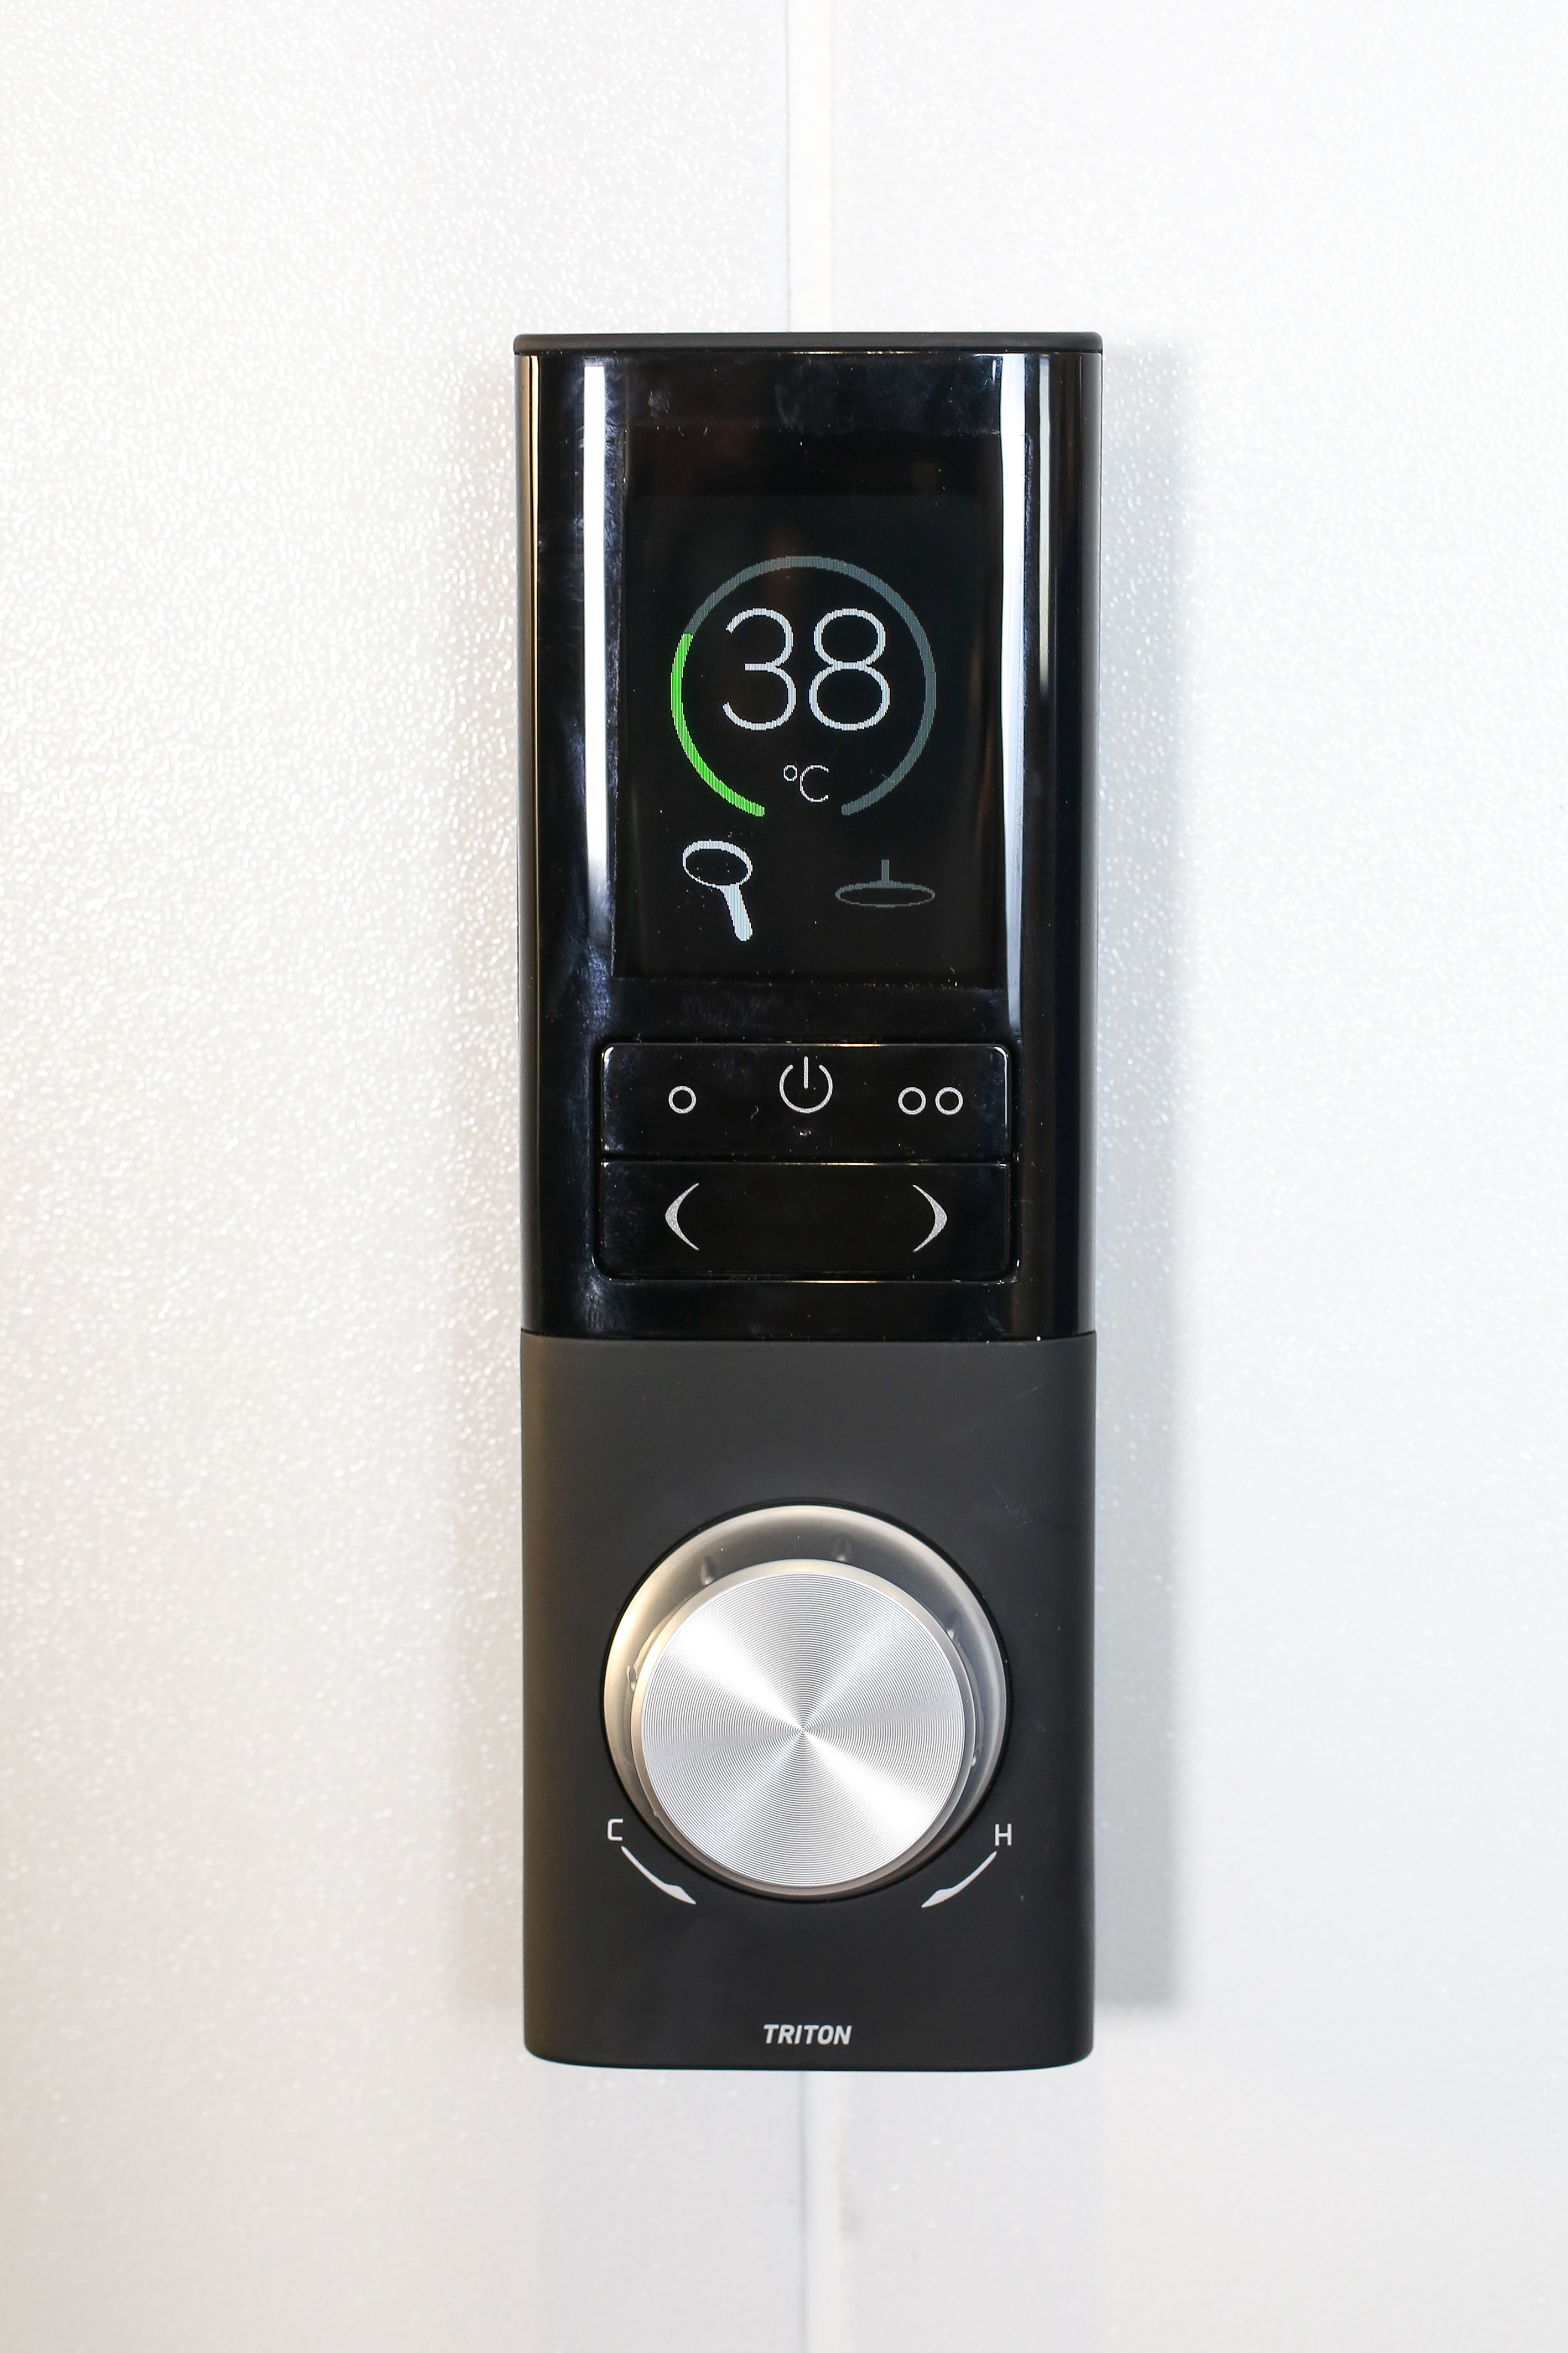
| Step 8: Wireless Control Use
Simply select one of three pre-set programmes to go straight to the user’s preferred shower: · ‘Just shower’ provides regular shower settings · ‘Relax’ offers a gentle spray · ‘Energise’ offers a powerful spray (e.g. post workout) Alternatively, you can fine tune the shower using the 16 temperature and 10 flow increments, then press and hold to save the new settings. |
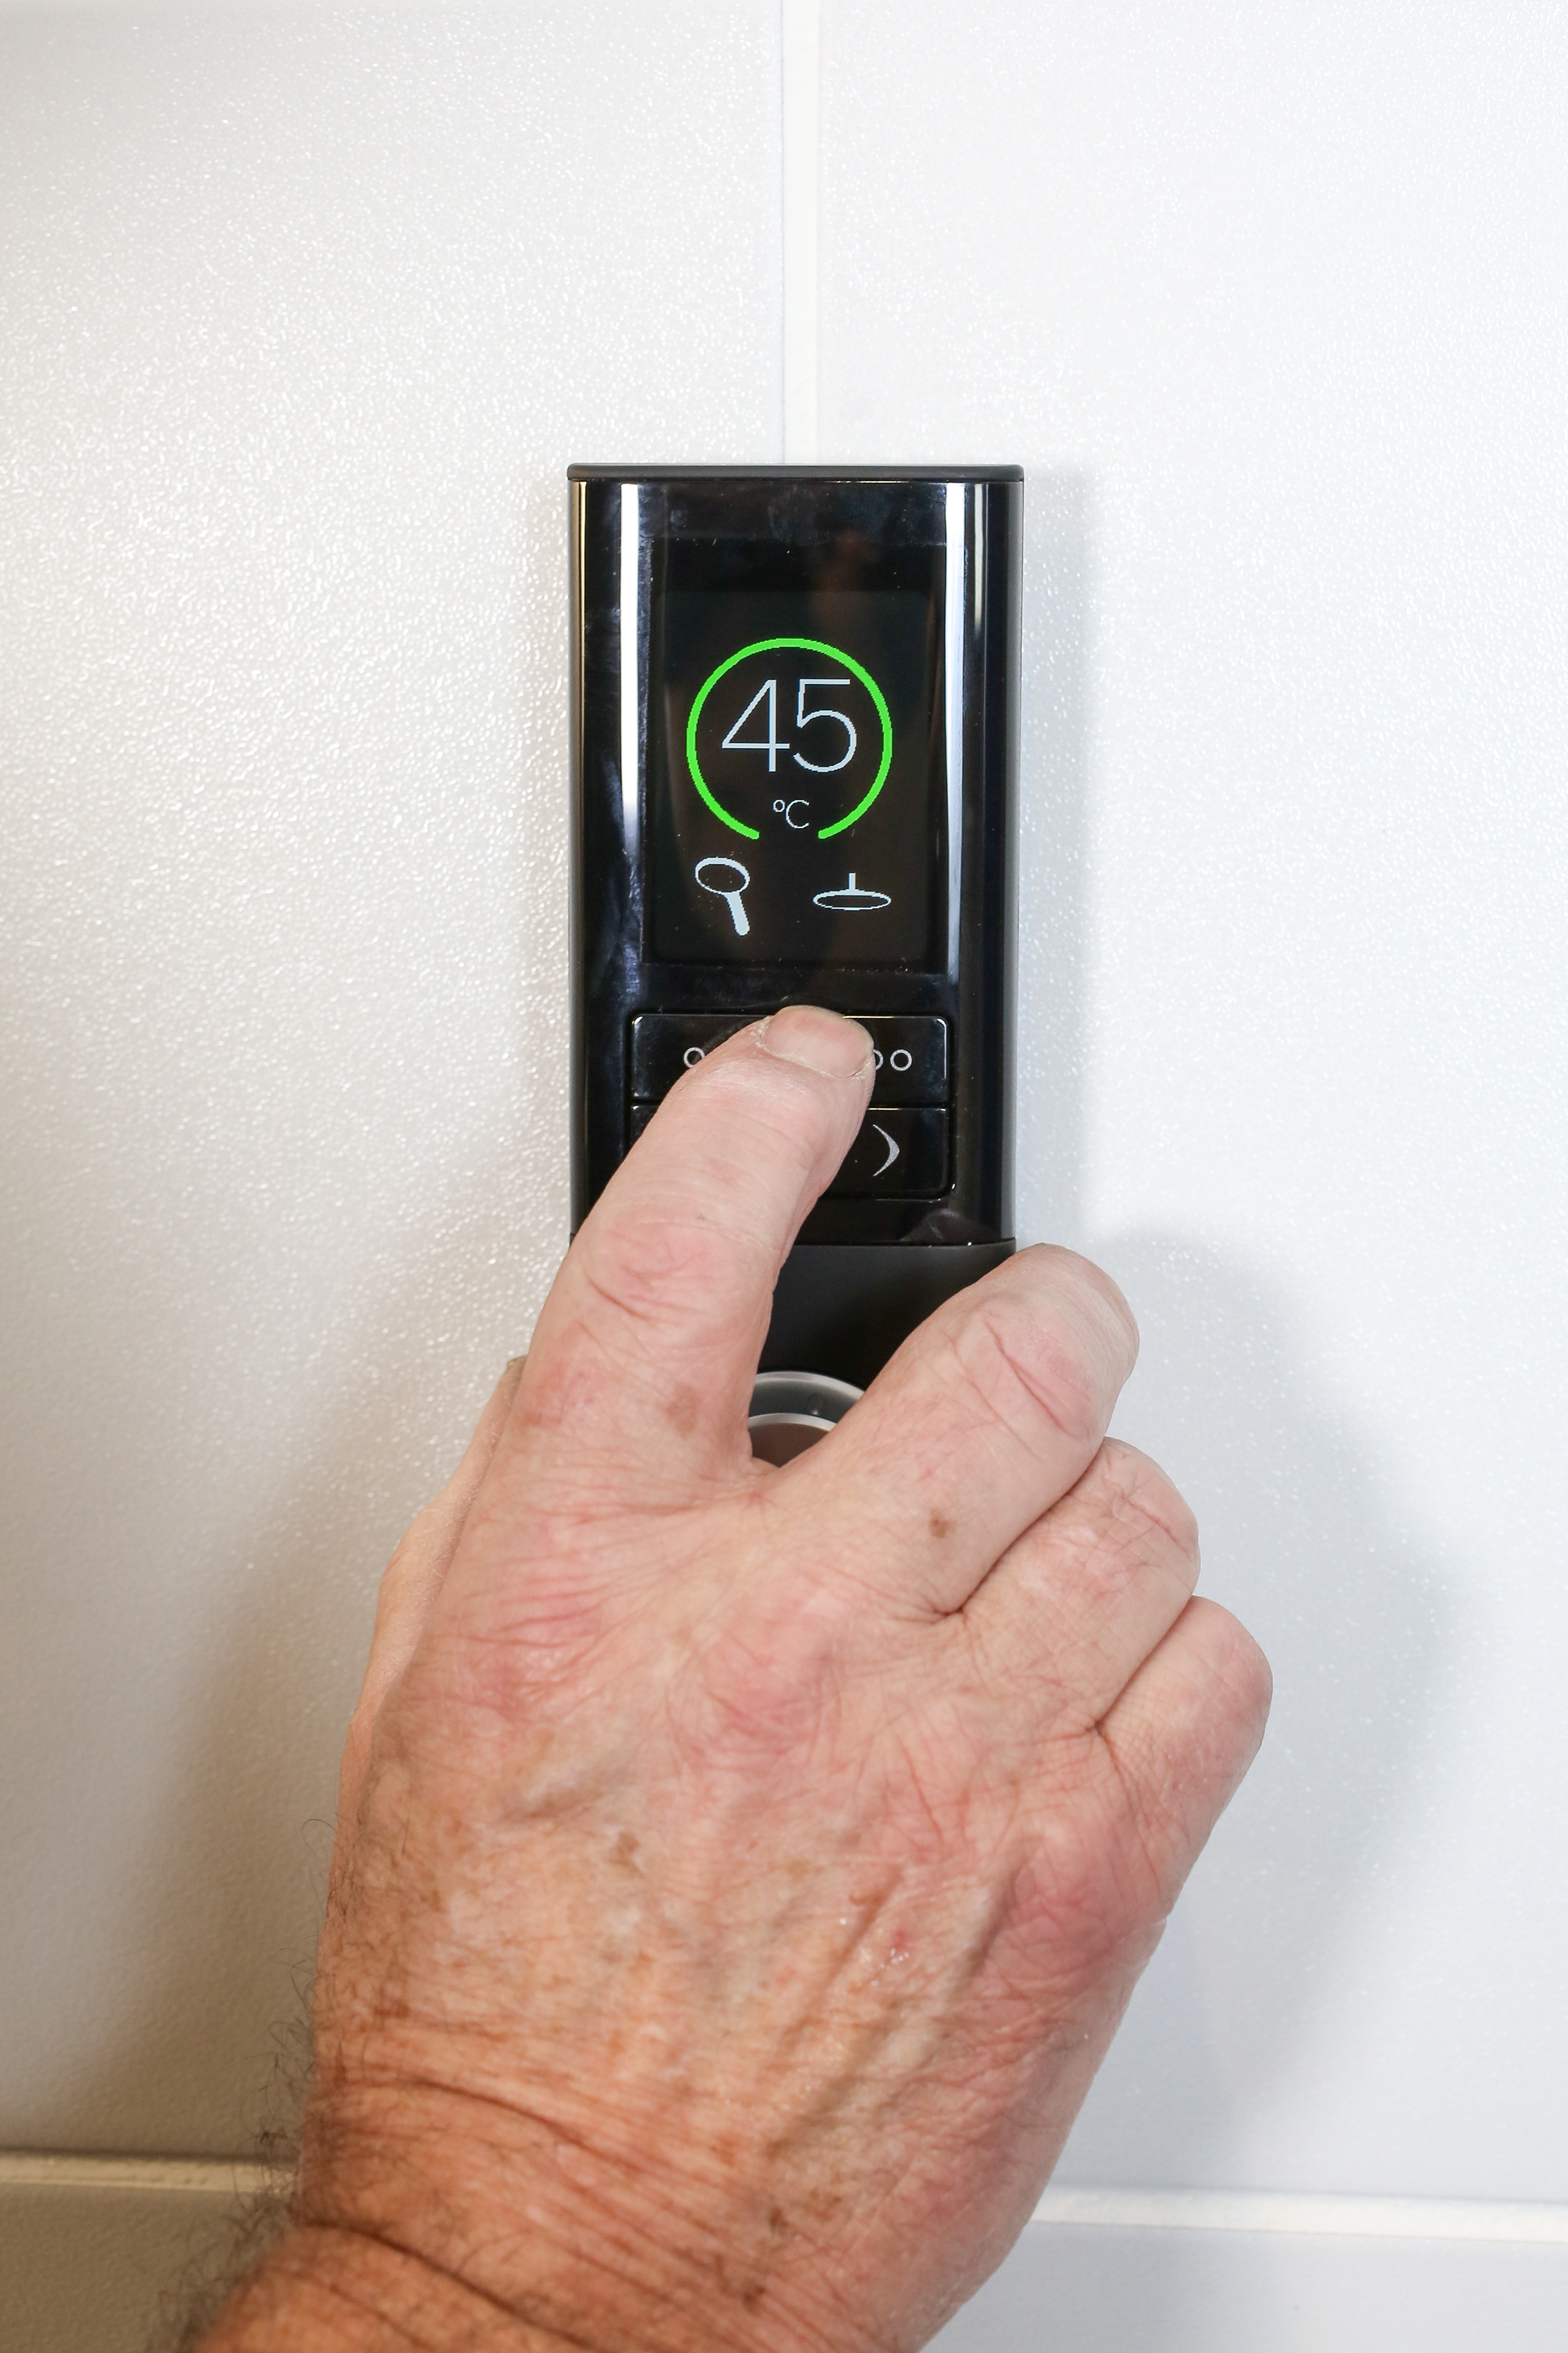 |
| Step 9: Wireless Control Feedback
The full text, full colour TFT digital display confirms the selected preset at start up. The temperature and flow settings will also be shown, with the outlet selection confirmed if the unit is dual outlet. |
 |
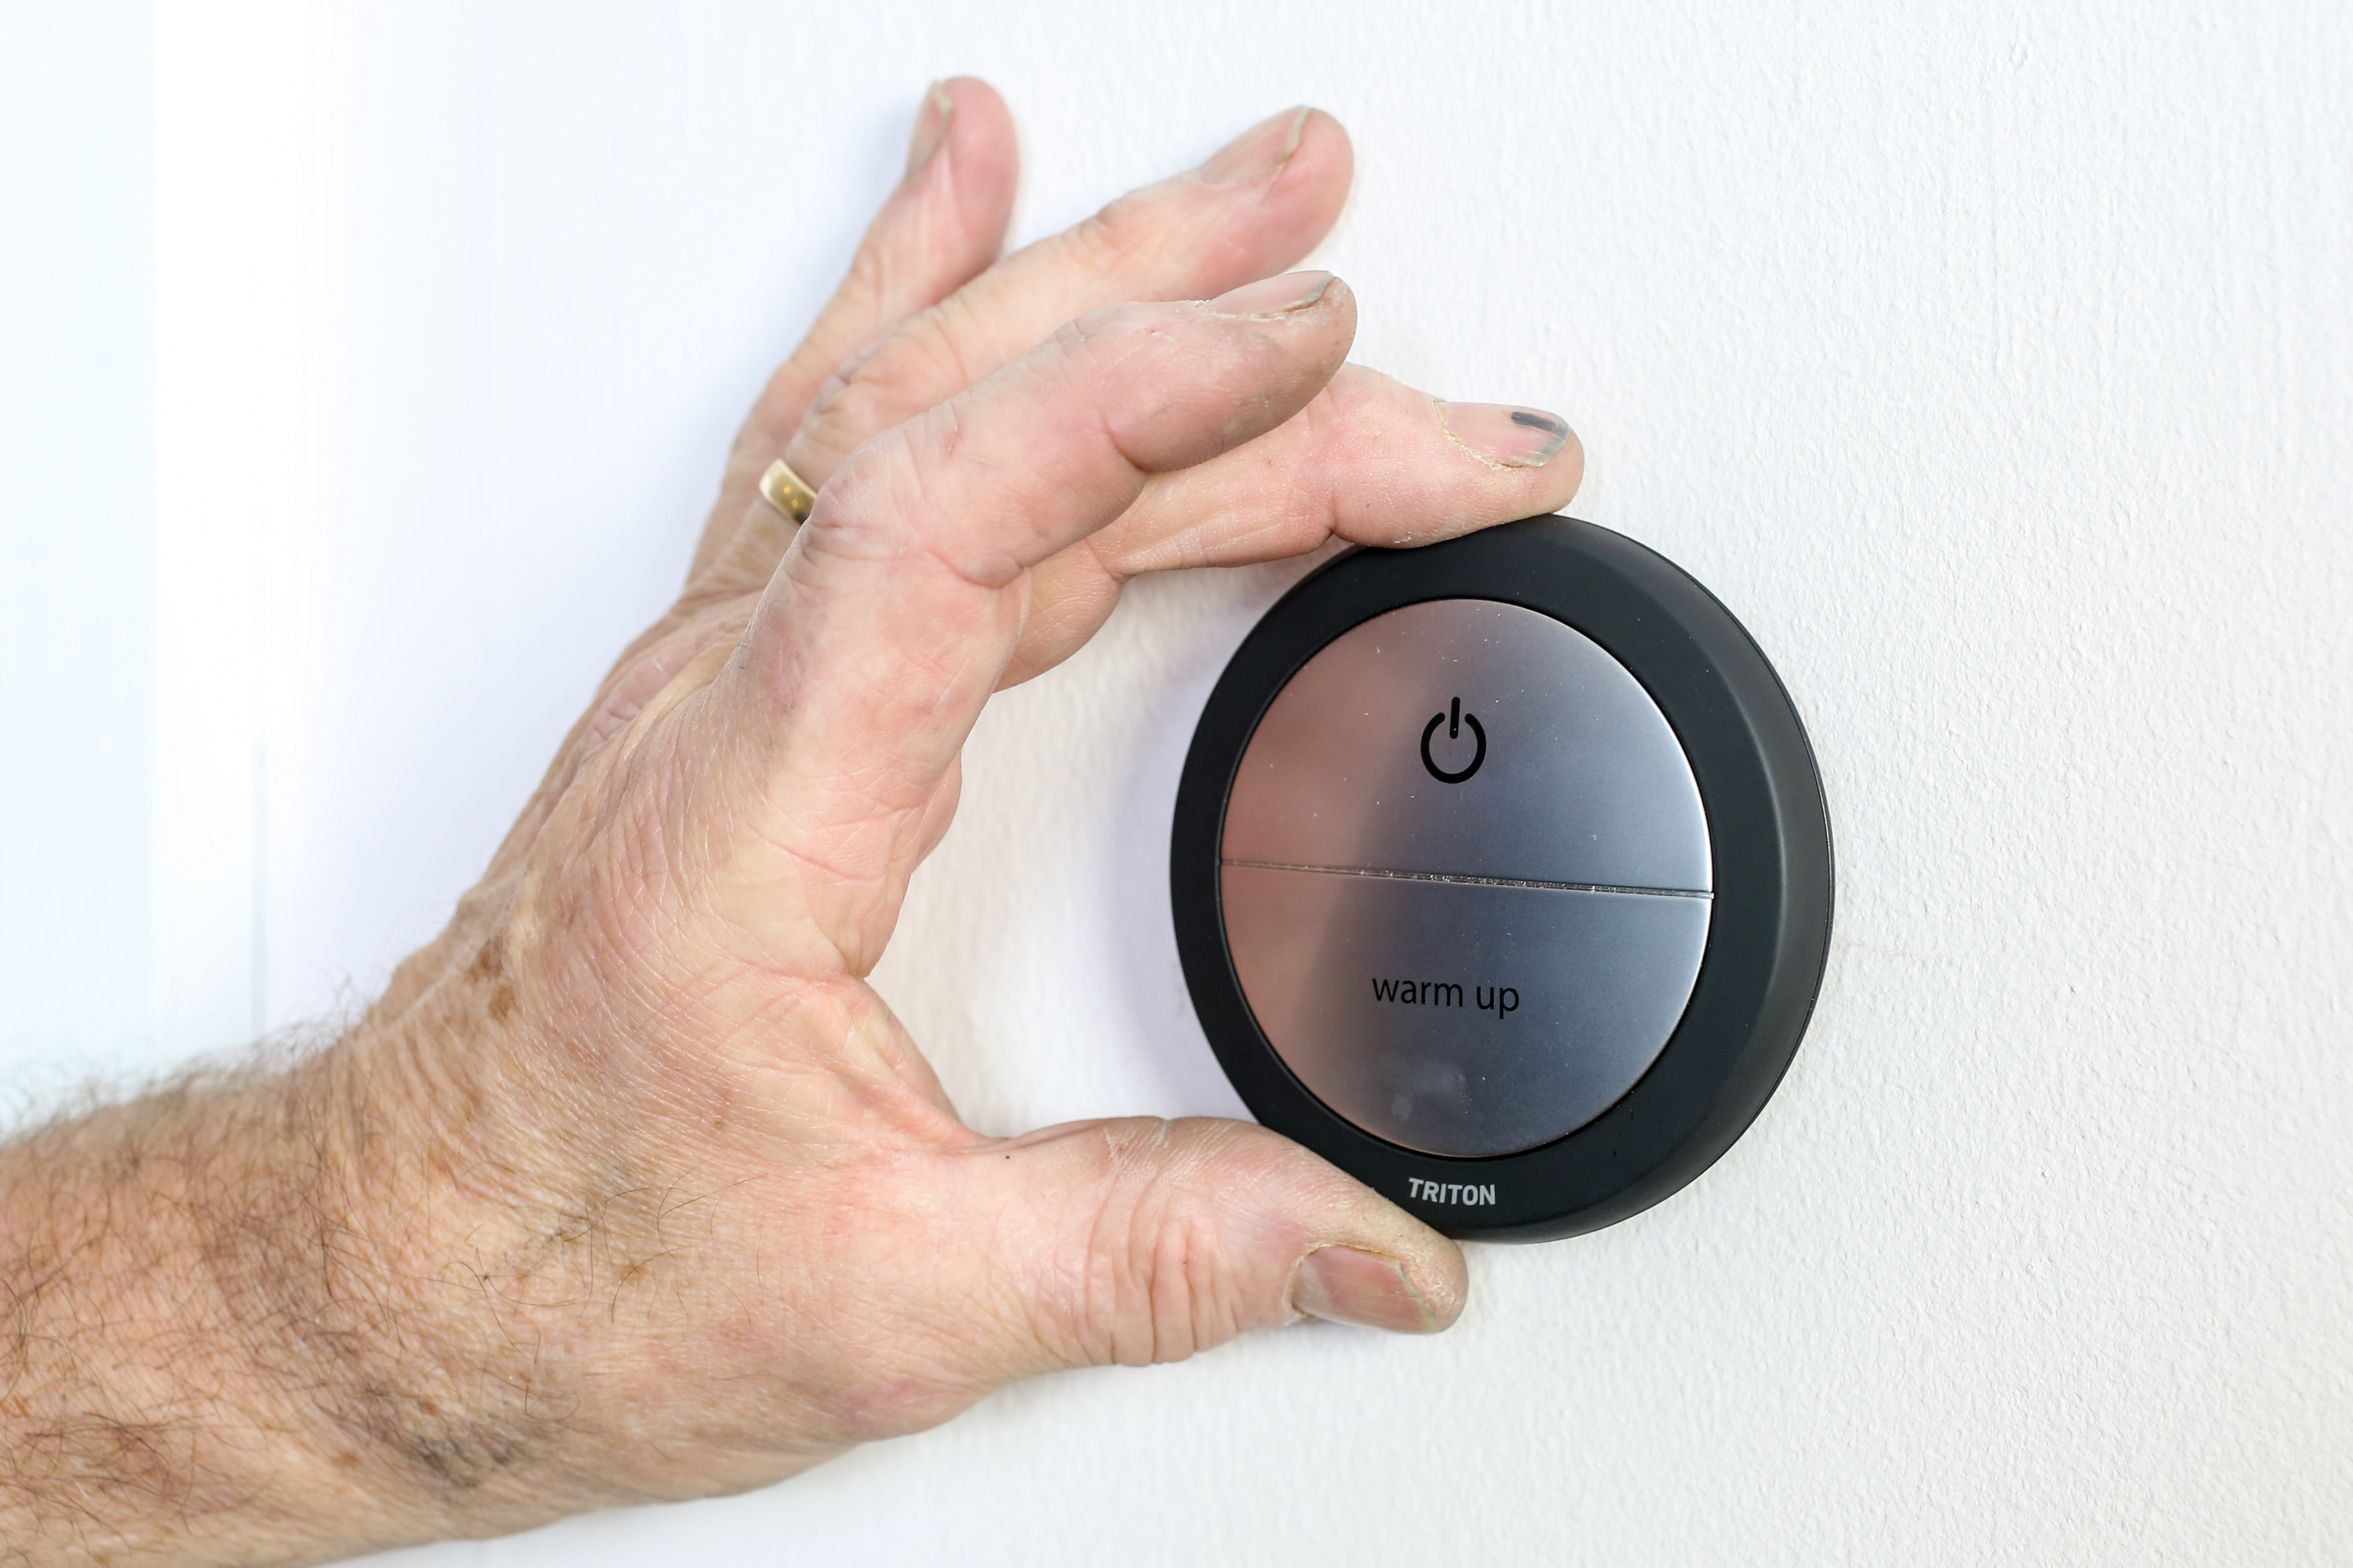
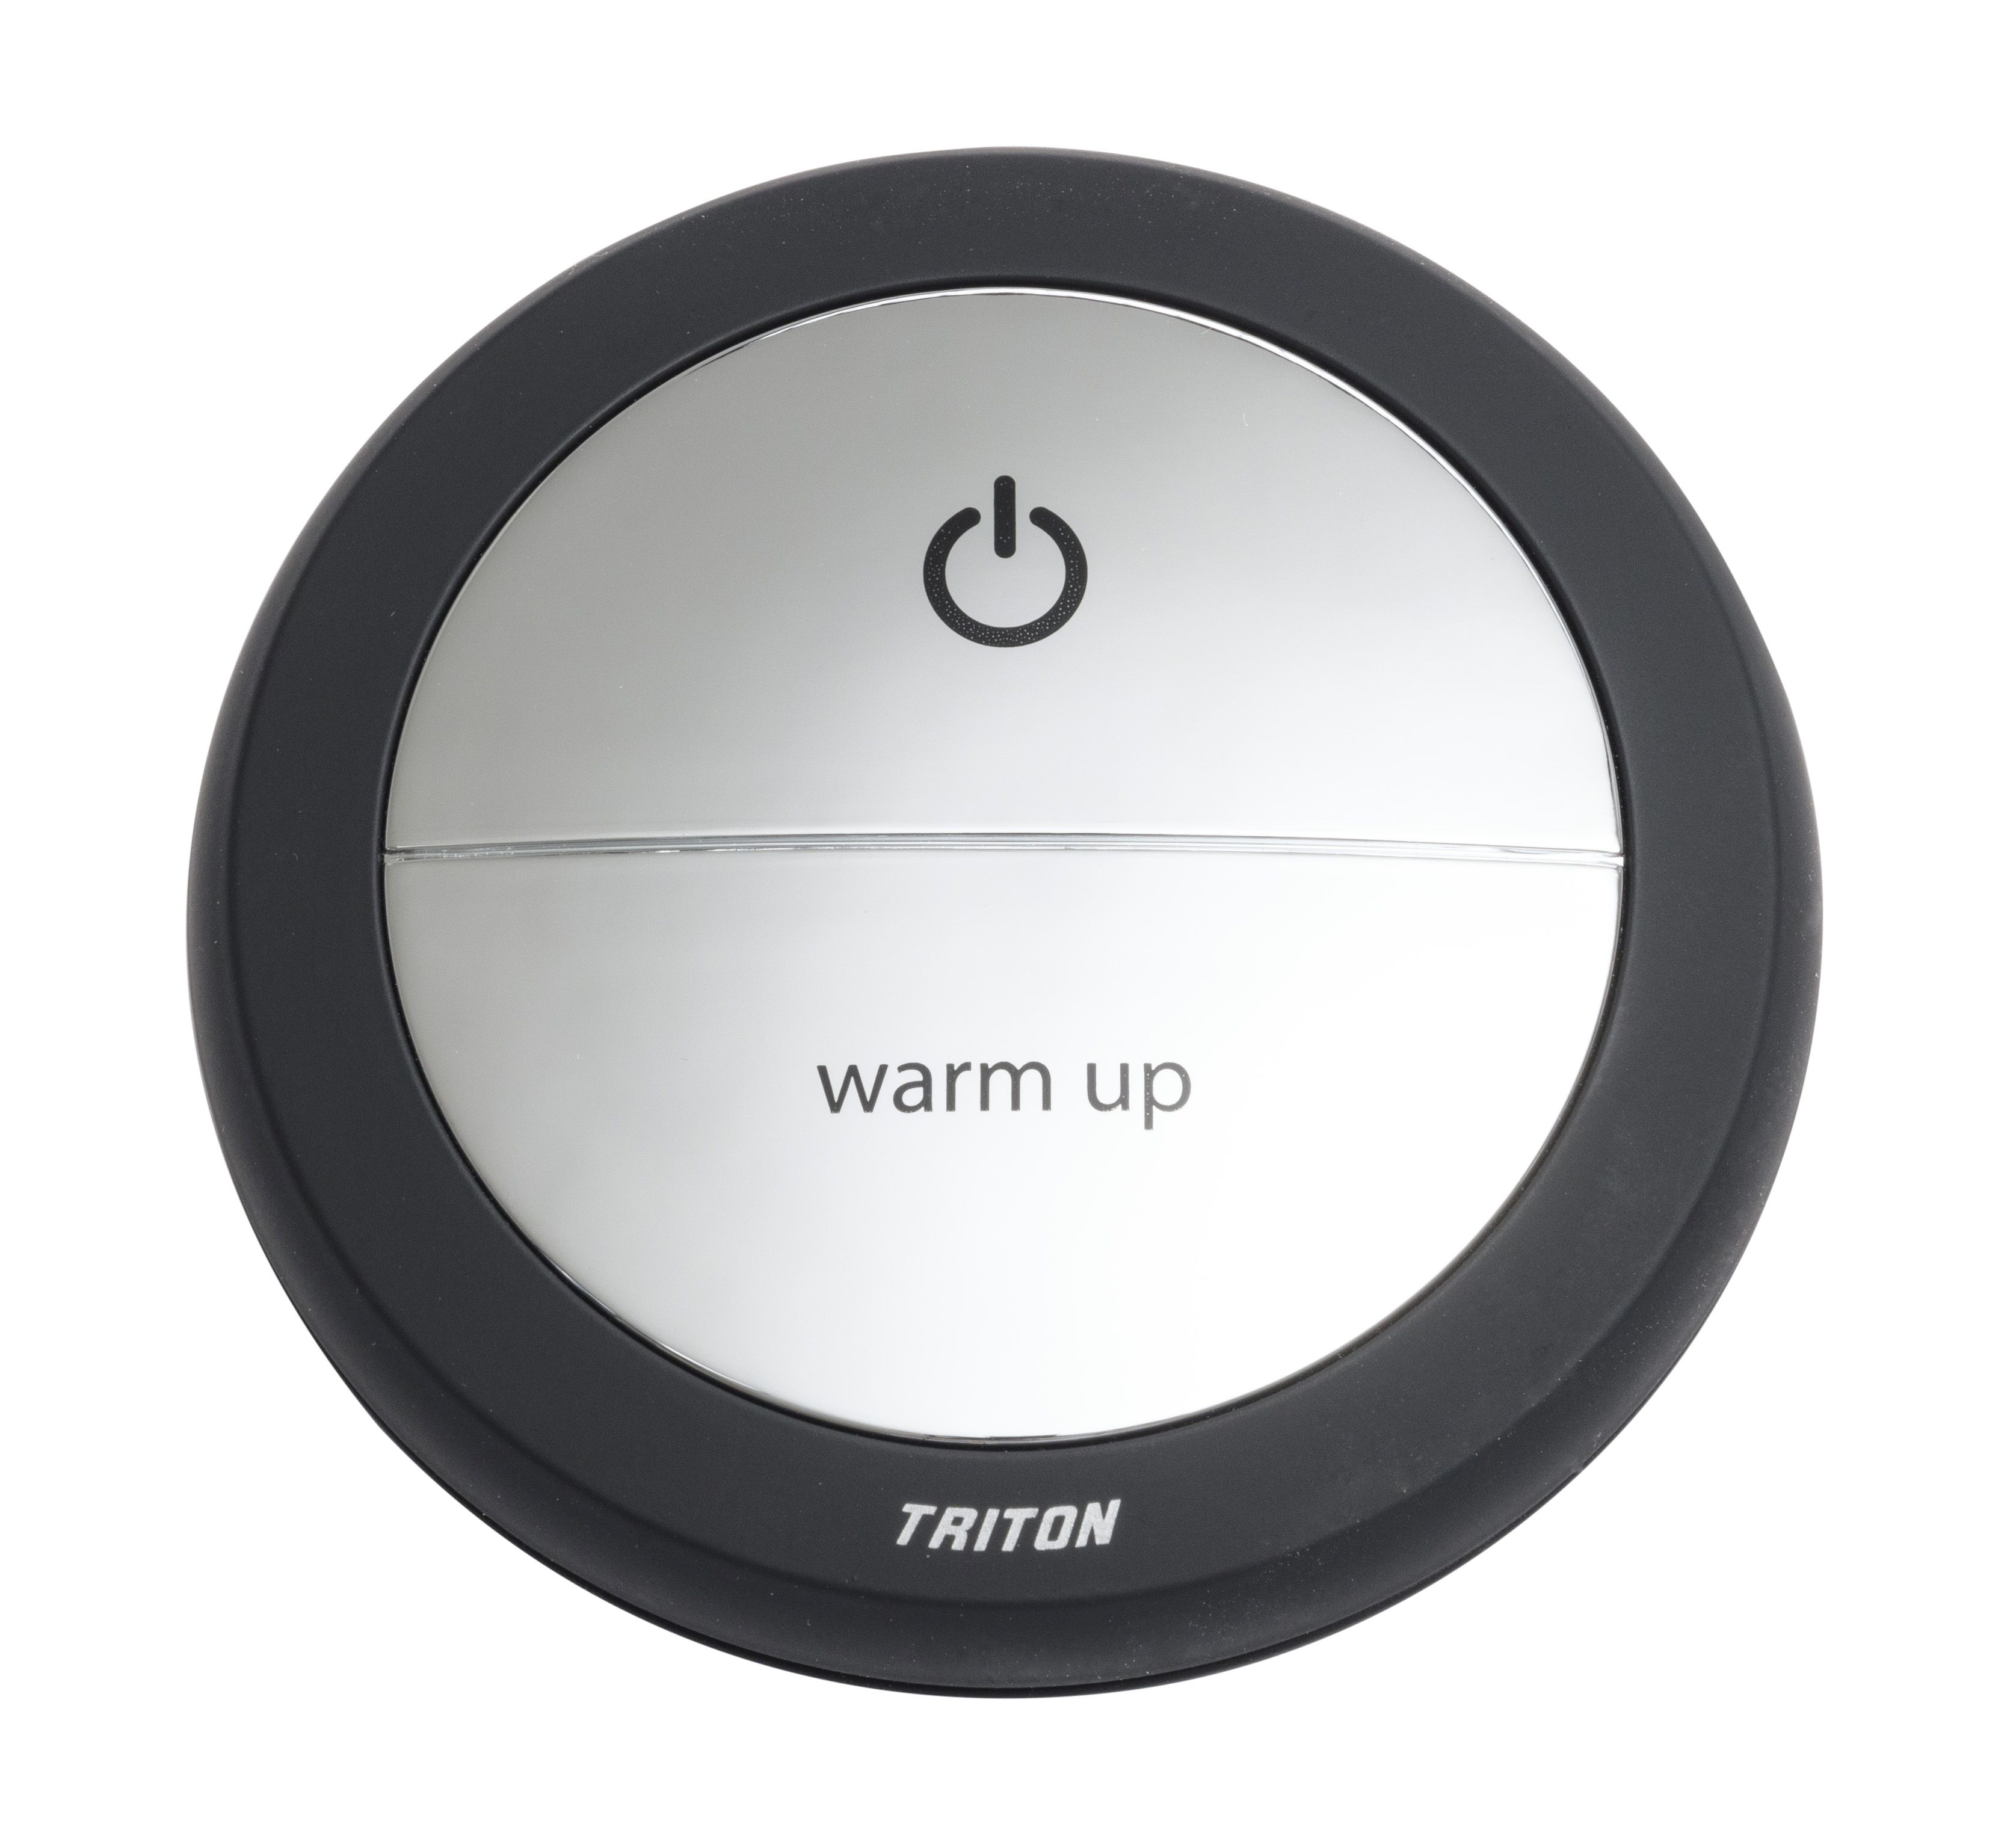
| Step 10: Remote Start/Stop Use
The optional remote start/stop can be located on a bedside table or fixed using the supplied magnetic wall mount. Warm up mode brings the water up to temperature before switching off when the shower is ready to use. This eliminates cold shocks, which is ideal if the combi boiler is far away from the mixer unit. |
 |
www.tritonshowers.co.uk/digital